
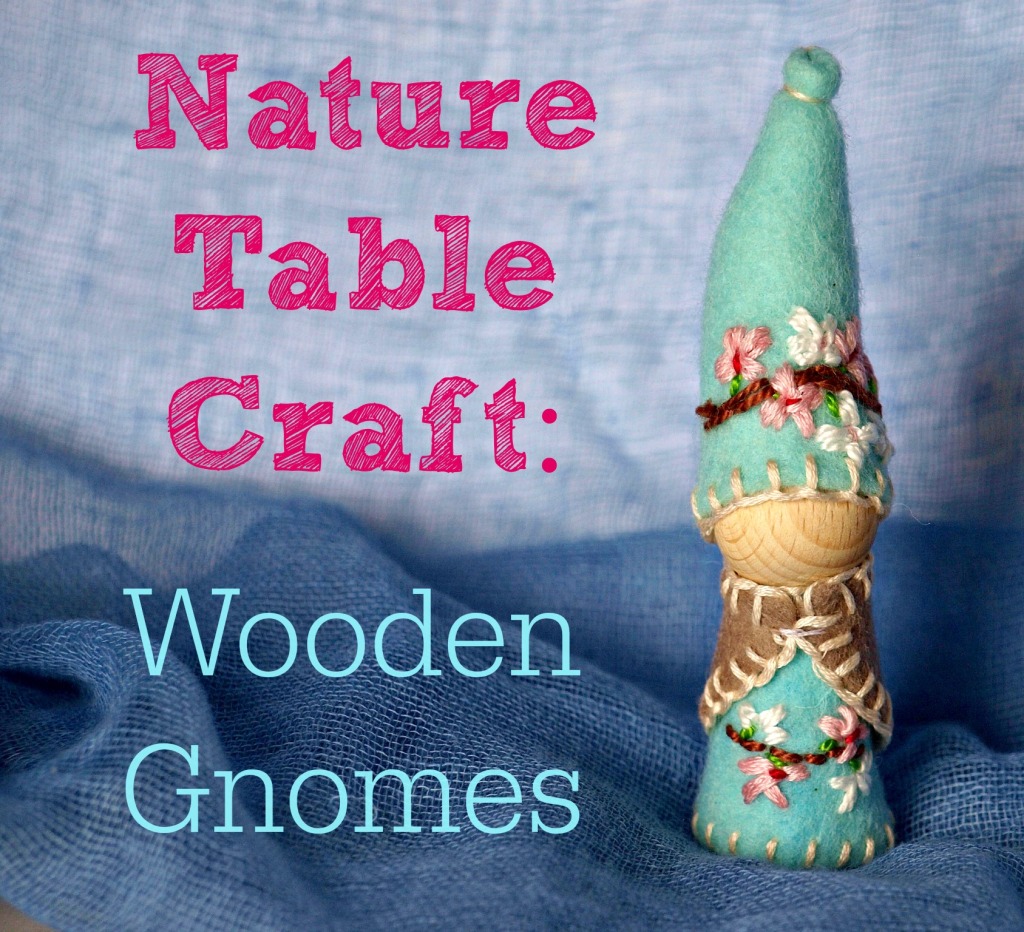
Last post was the first in my Nature Table Crafts series, which shares a few ideas for super simple crafts that any newcomer to Waldorf (or crafting generally) can whip up quick smart without too much difficulty. Last post I shared my Felt Ball mobile, and this week…we’re taking on the gnomes.
There are few things more quintessentially Waldorf than the humble wooden gnome. Indeed, it was the very first craft I was introduced to when we began playgroup at our local Steiner School. They are cute, perfect for little hands to hold, and best of all, they aren’t hard to make and you can easily finish a simple one in an hour or so (longer if you are going crazy on the embellishments). Gnomes feature heavily in the folklore and methodology of Steiner Education – among other things, gnomes are even used to teach math sums in the Waldorf classroom!
Gnomes are great for your nature table because they help bring a kind of story to life in what might otherwise be just a table with flowers, rocks or pinecones on it. Add a gnome or two and voila! Waldorf whimsy.
The scene is set for imagination. For me, the best nature tables that I have seen either online or in person contain a beautiful balance between hand crafted items and genuine found items from nature. Since wool is the preferred medium to work with when crafting our gnome’s clothing, the very fibre that we use to create our handwork is itself a piece of nature. Gnomes and nature tables go together like peas and carrots. 🙂
So far as I can devise, the mythology of gnomes suggests that they are magical little “earth spirits” who oversee, guide and aid us with our daily tasks. Its not surprising then if you have a look on Etsy for wooden Waldorf gnomes, you will find any kind of gnome your heart could desire: weather gnomes, days-of-the-week gnomes, rhythm gnomes, math gnomes, seasonal gnomes…the list goes on and on. I have a Gnome Pinterest Board which includes enough ideas to keep me churning out gnomes to add to our gnome family for many years to come, which is great, since the few we have seem a bit lonely.
The gnome I made most recently was for our Spring Nature Table. I am so happy with this little guy and you will see why when I reveal my earlier, less skilled efforts below. Here he is: I call him – Meadow Gnome.
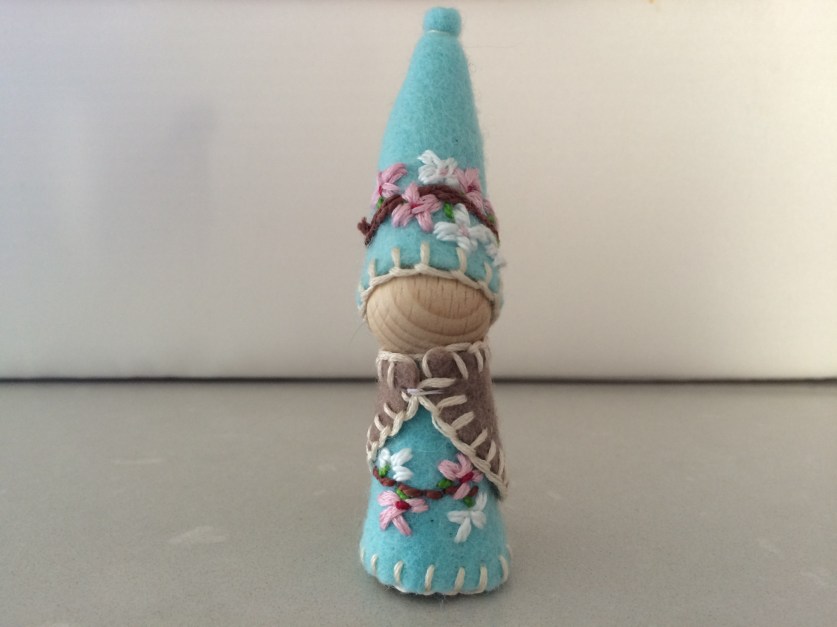
Meadow Gnome is, admittedly, almost a direct rip off of a gnome on my Gnome Pinterest board. I have no originality at this moment in my creative journey, so I am very okay with stealing someone else’s beautiful ideas since of course my creations are only for our family’s personal use.
And here is a gnome I made a few months ago for our winter nature table:

Yes, it appears the beard is growing not just from his chin but also his ears, neck and head, lol.
One night last winter, Big Daddy even sat down and had a go at making a gnome alongside me (fair warning: this is what happens when you no longer own a TV!). I was painstakingly trying to keep my whip stitch even and hadn’t paid much attention to what Big Daddy was doing until he presented me his final product a half hour or so later. We both burst into hysterical fits of laughter. I include his efforts below for your entertainment and pleasure, bless his heart. God, I love my husband – he’s just so awesome in every way. 🙂

Making these magical little creatures isn’t hard. You will need a wooden gnome body (also called “People Turning”), a few felt sheets in your desired colours, as well as some embroidery thread and wood glue. If you prefer, you can use a pattern for the gnome’s clothes but, in my honest opinion, it’s completely unnecessary; It’s easy enough to figure out without any guidance. For the most basic of designs, you’ll need to cut out three pieces: one for the gnome’s “shirt”, another for his cape or jacket, and the last one for his hat. Once you have your pieces more or less to size, you will need to master the whip stitch (video tutorial here), and this will be the hardest part – just keeping your stitches even. Take it from Big Daddy. ^^
A few pieces of advice:
- don’t waste time on synthetic felt sheets – go straight for the pure wool. I bought mine from Winterwood here
- using embroidery thread that contrasts with the colour of your felt is typically favoured
- it might be helpful to stuff the hat with doll stuffing to give it a bit more oomph and stability, especially if little hands will be playing with it
- some wooden gnomes are unfinished and will require a lacquer of some sort. Make sure you only varnish the visible bits and not those that will need to be glued, as this will affect adhesion
There are several different styles and sizes of gnome bodies – even itty bitty baby gnomies. I think a mother/child gnome pairing will be my next endeavour, for our Christmas Nature Table nativity scene.
Show me your gnomes! I would love more inspiration. Visit me on Facebook and share a pic of your little “earth spirits”, or email me on razzafazza@icloud.com.
Be sure to check back for the final instalment in my Nature Table Craft series, featuring crafts that are so easy, any Waldorf newbie can pull them off (hey, if I can, so can you!).
Blessings to you and yours,
Robyn xx

Leave a comment