

During the last week of Term 2, Big Daddy took Master C to the 3 year old playgroup that we attend each week at our local Steiner School. Usually something that I attend with the kids, this was an opportunity for my husband to experience firsthand exactly what it is that makes a Steiner classroom special. I am very lucky to have a partner in life who is comfortable entering the domain of what others might consider to be mummy territory, having in the past taken Master C to Mums Group and playgroup sessions without batting an eye.
As a teacher himself, questions surrounding why we have chosen Steiner education for our children are beginning to crop up from curious friends and family, and this opportunity to participate in Master C’s playgroup for the afternoon was a great chance for Big Daddy to develop his own impressions of the world of Waldorf, instead of hearing all about its theories and practices from me, secondhand (as is often the case, since I am the one who has driven our path in this direction).
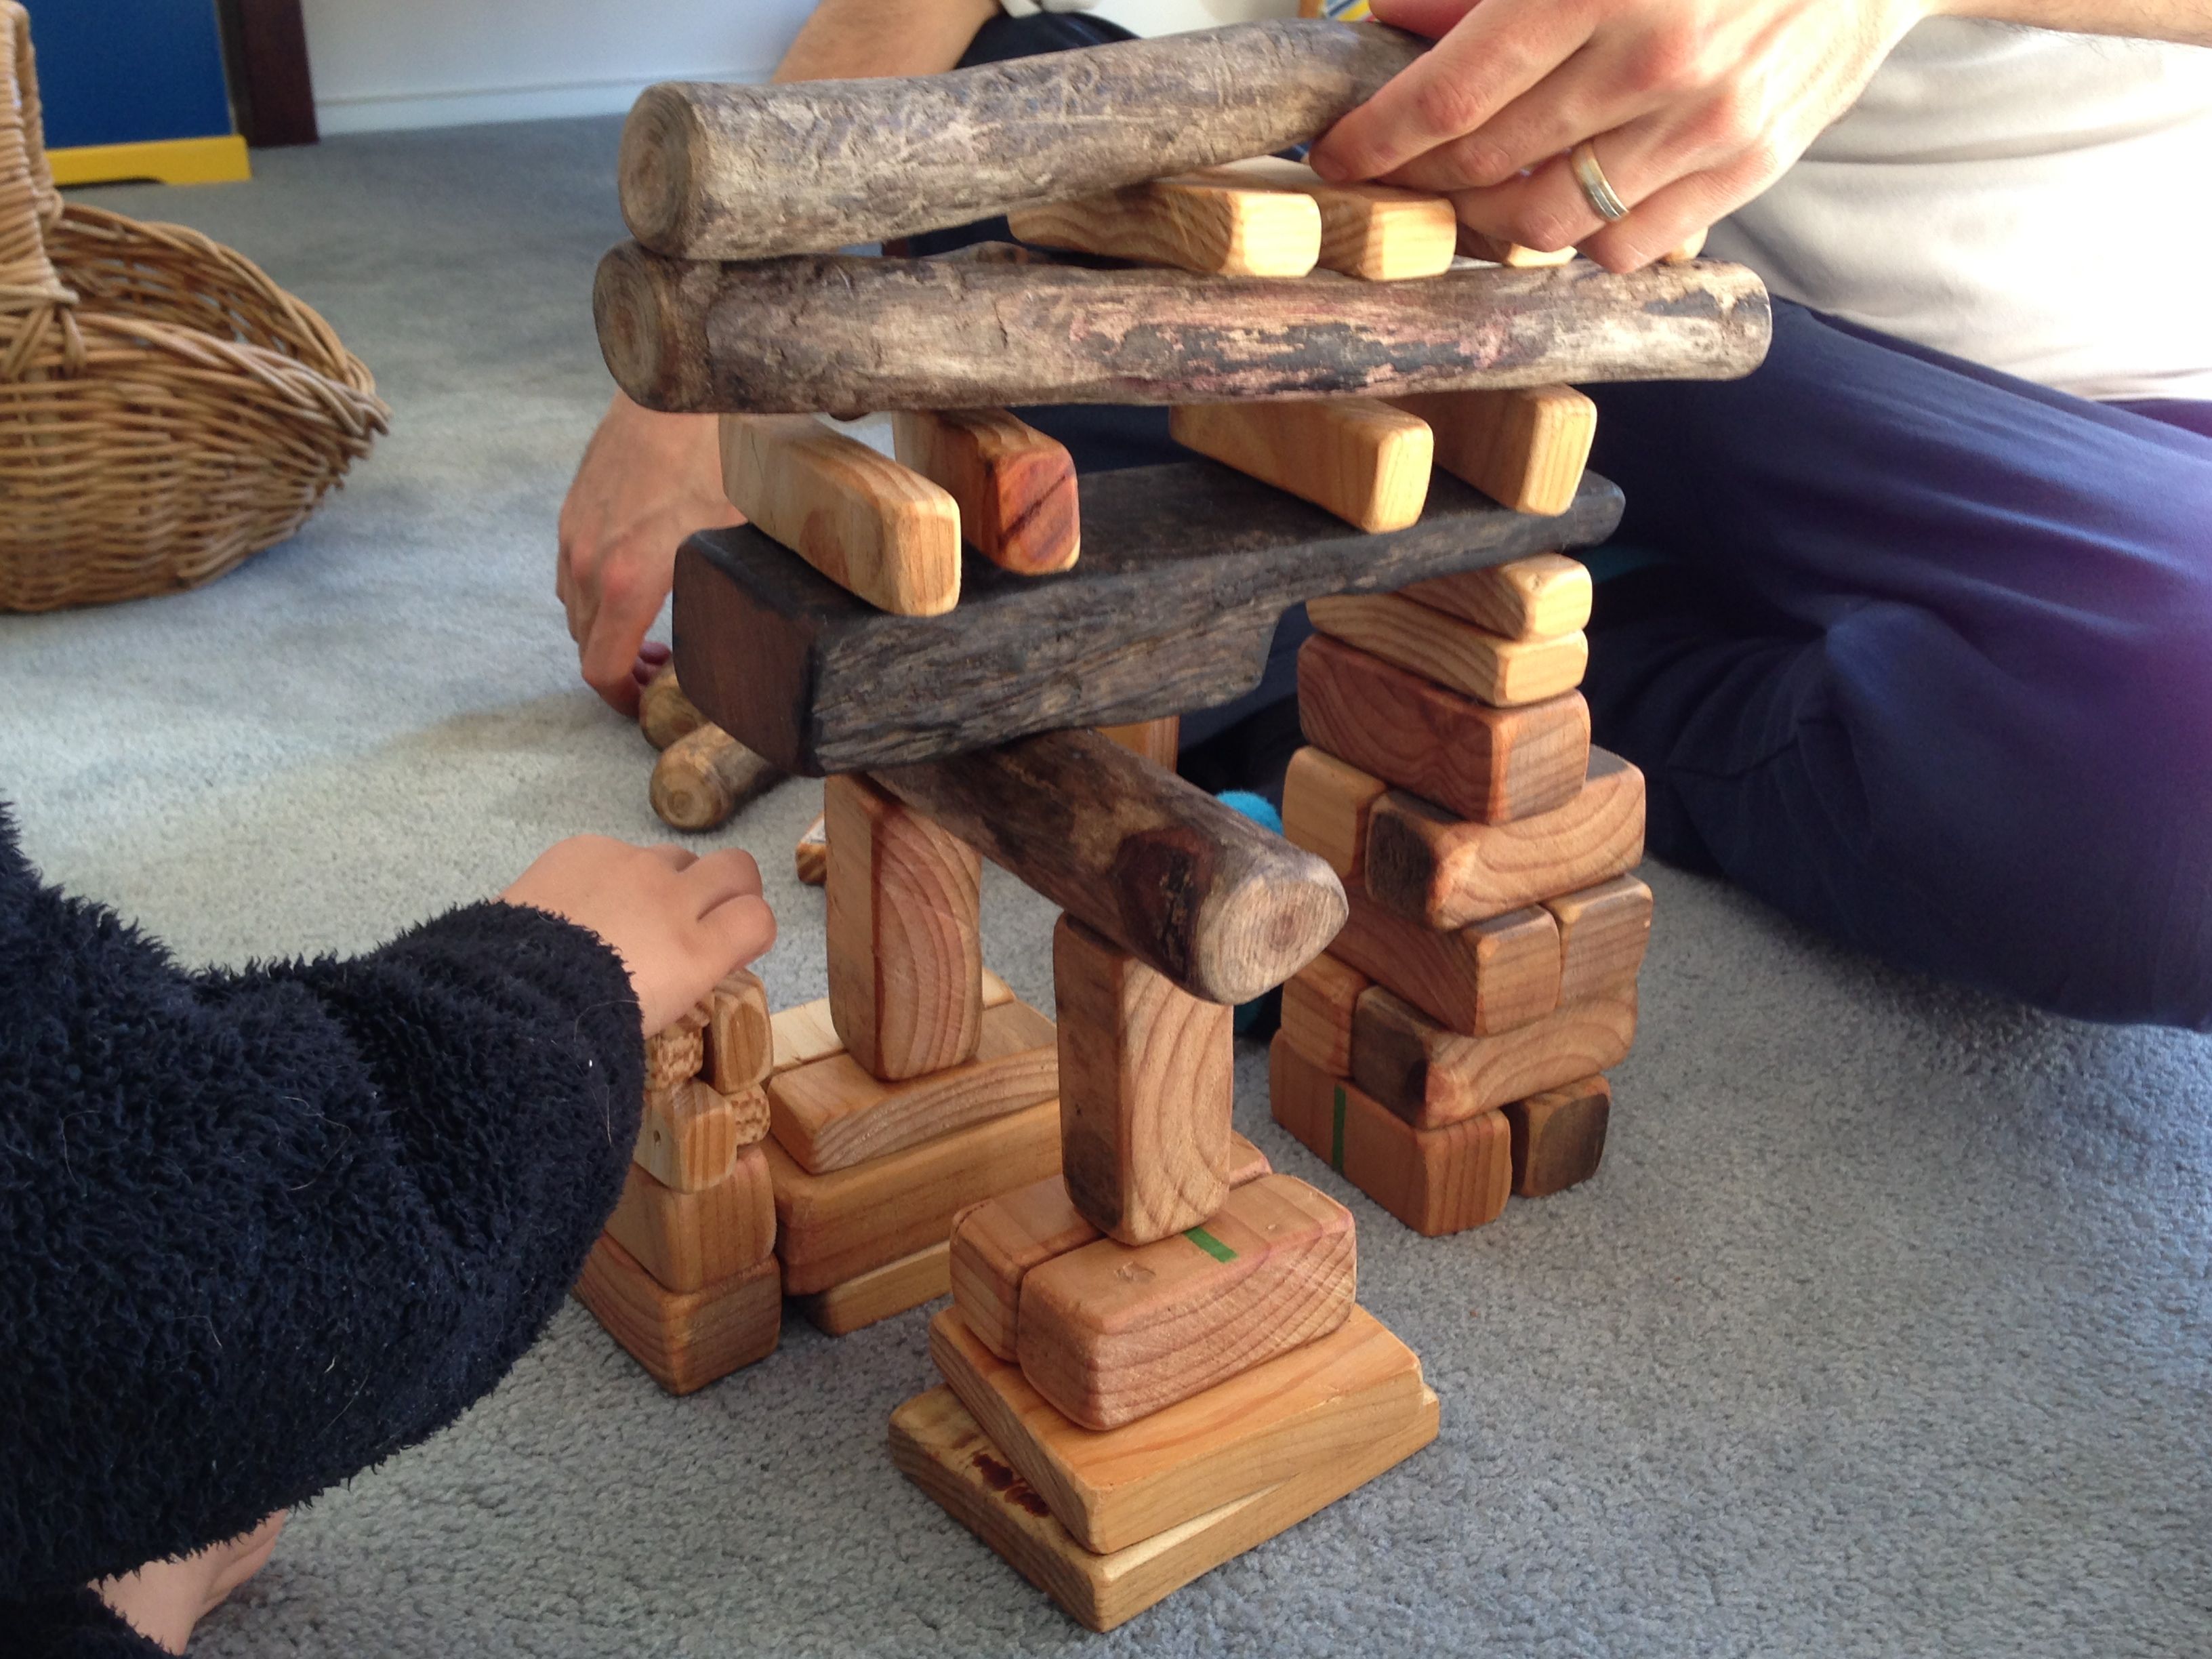
After visiting the school that day for 3 year old playgroup, Big Daddy has been a man inspired. First off, he decided that he wanted to make a big pile of self-sourced wooden blocks for the boys, after seeing a big basket of them at the school. Then suddenly school holidays were upon us and Big Daddy made good on his commitment and, WOWEE, they are AWESOME!!
I know, right?
We fell so much in love with these that I almost, ALMOST did away with the stash of coloured wooden blocks we already had from the shops. I doubt I will be so kind next toy cull. Your days are numbered cheapo Target blocks!!
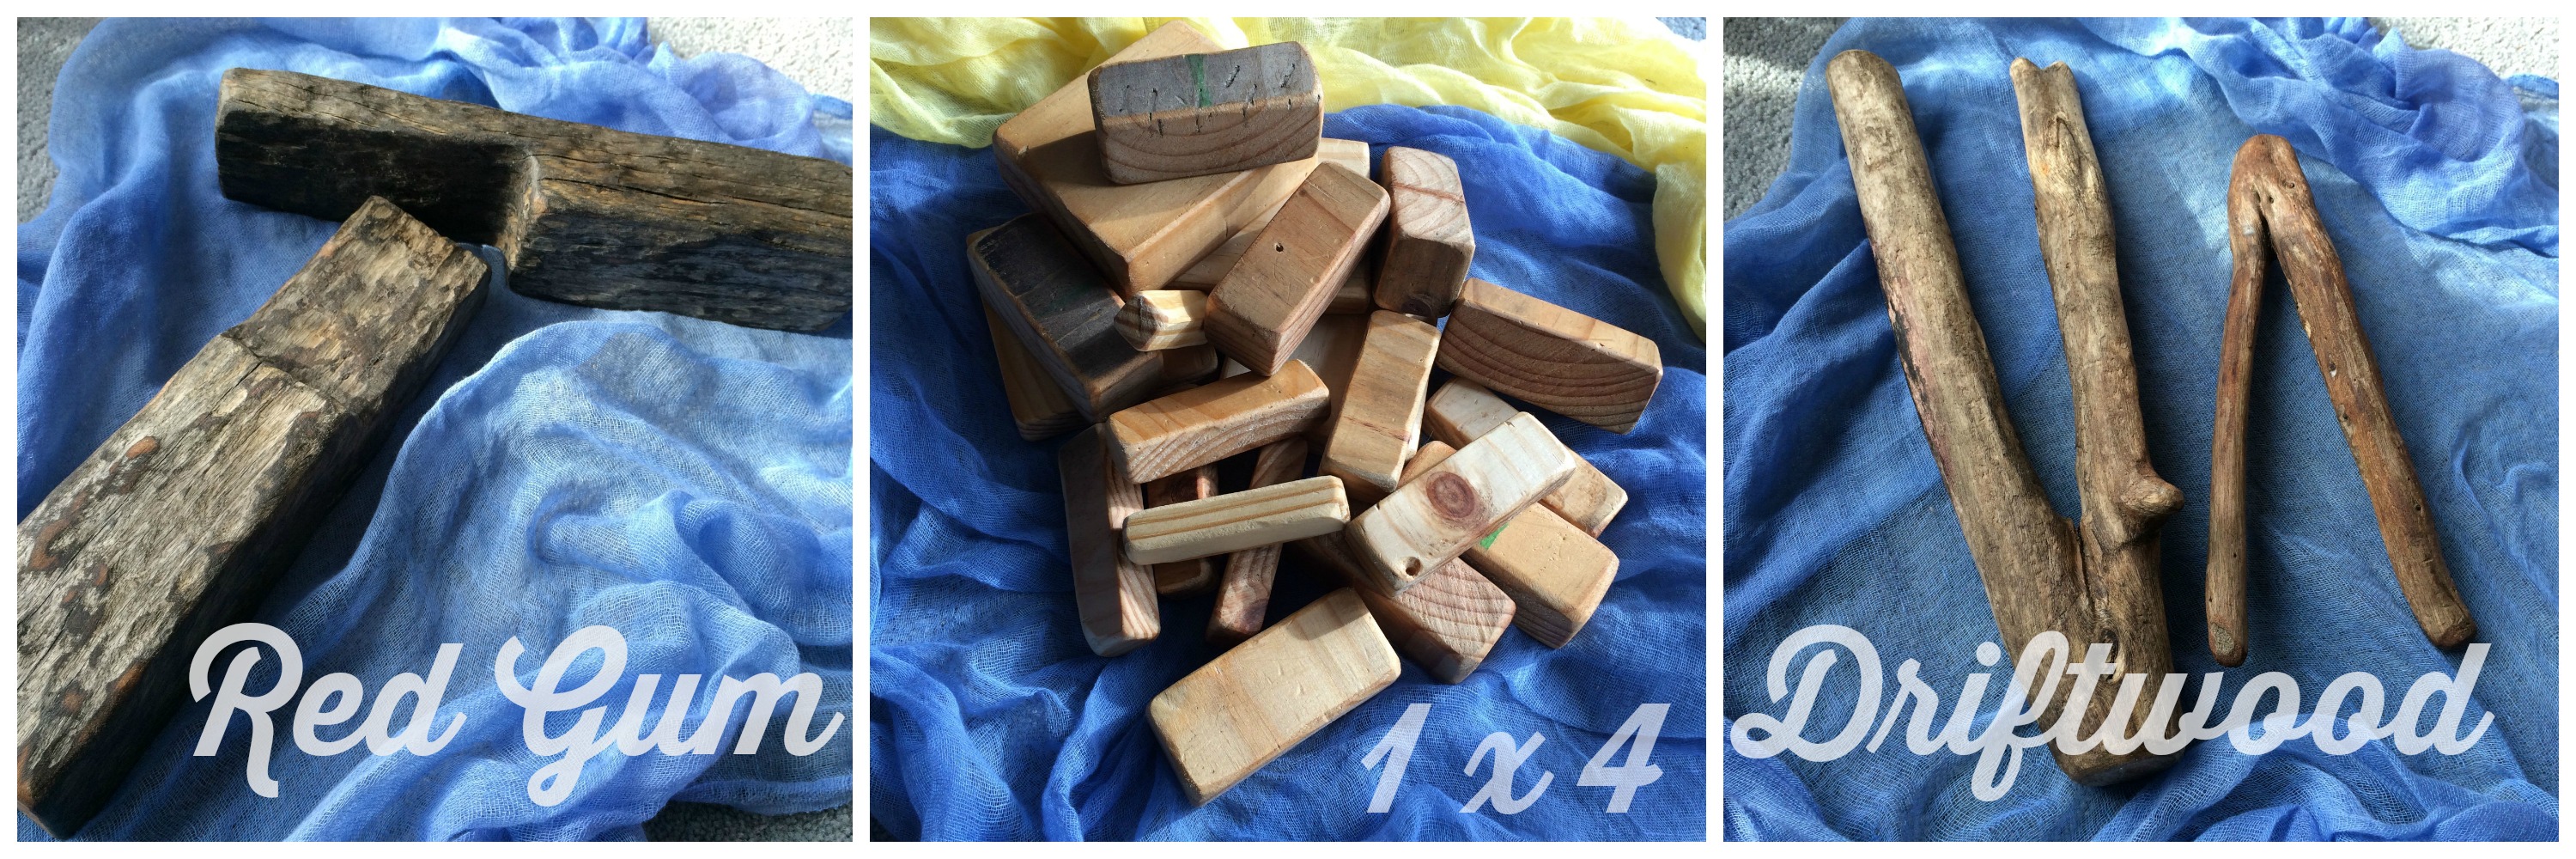
Our homemade blocks were made from bits and pieces found on recent nature walks, as well as from two or three old 1 x 4’s we had left over from other projects. The wood itself is made up of pieces of pine, driftwood and half of a red gum sleeper (suspected ex-railroad track!). This diversity in the texture, shape and colour of the different pieces of wood is what really makes these blocks special.
Here’s how we did it:
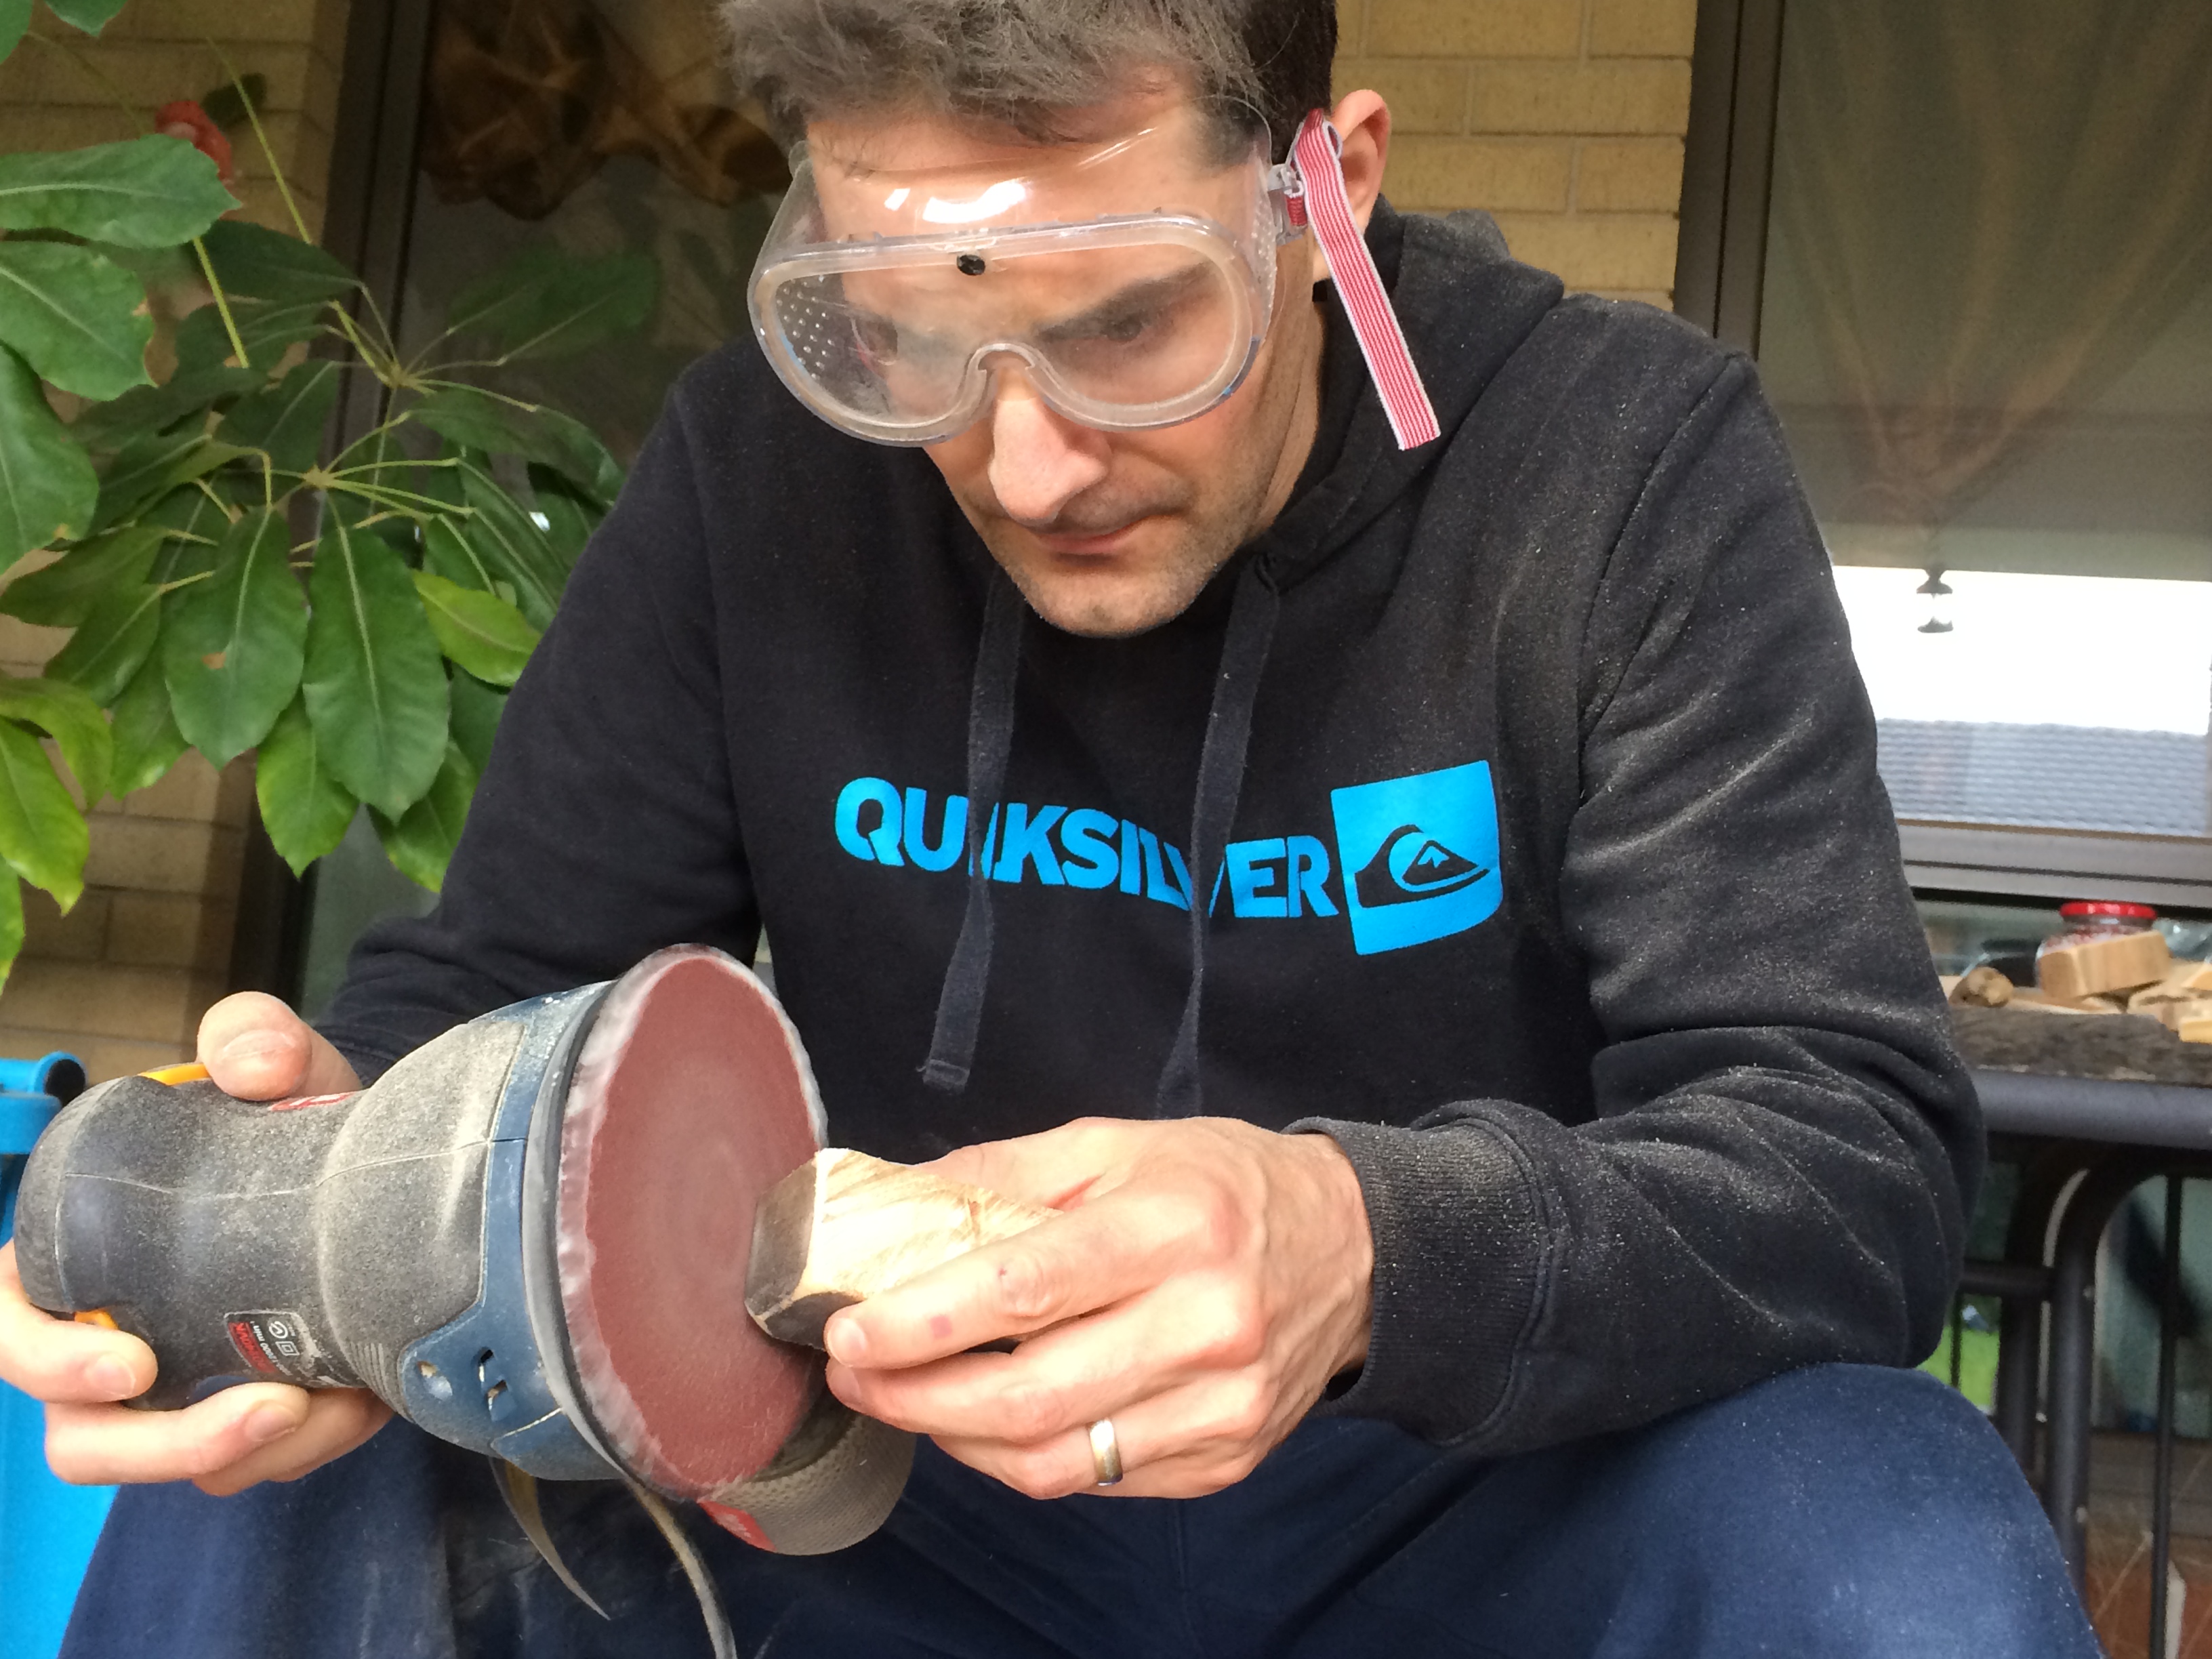
First, Big Daddy used a hand saw to cut the pieces into sizes he was happy with. If you’ve got a decent tool shed, a powered saw would make this job a cinch. Alas, we do not.
Next, both Master C and Big Daddy got to sanding each piece, one by one. Master C, obviously, only used sandpaper and worked away by hand, while Big Daddy used an electric sander that a friend kindly gifted us a few years back.
Then we made the beeswax varnish from coconut oil and beeswax, melted in a double boiler over low heat and stirred continuously until liquid. You can buy organic beeswax beads here.
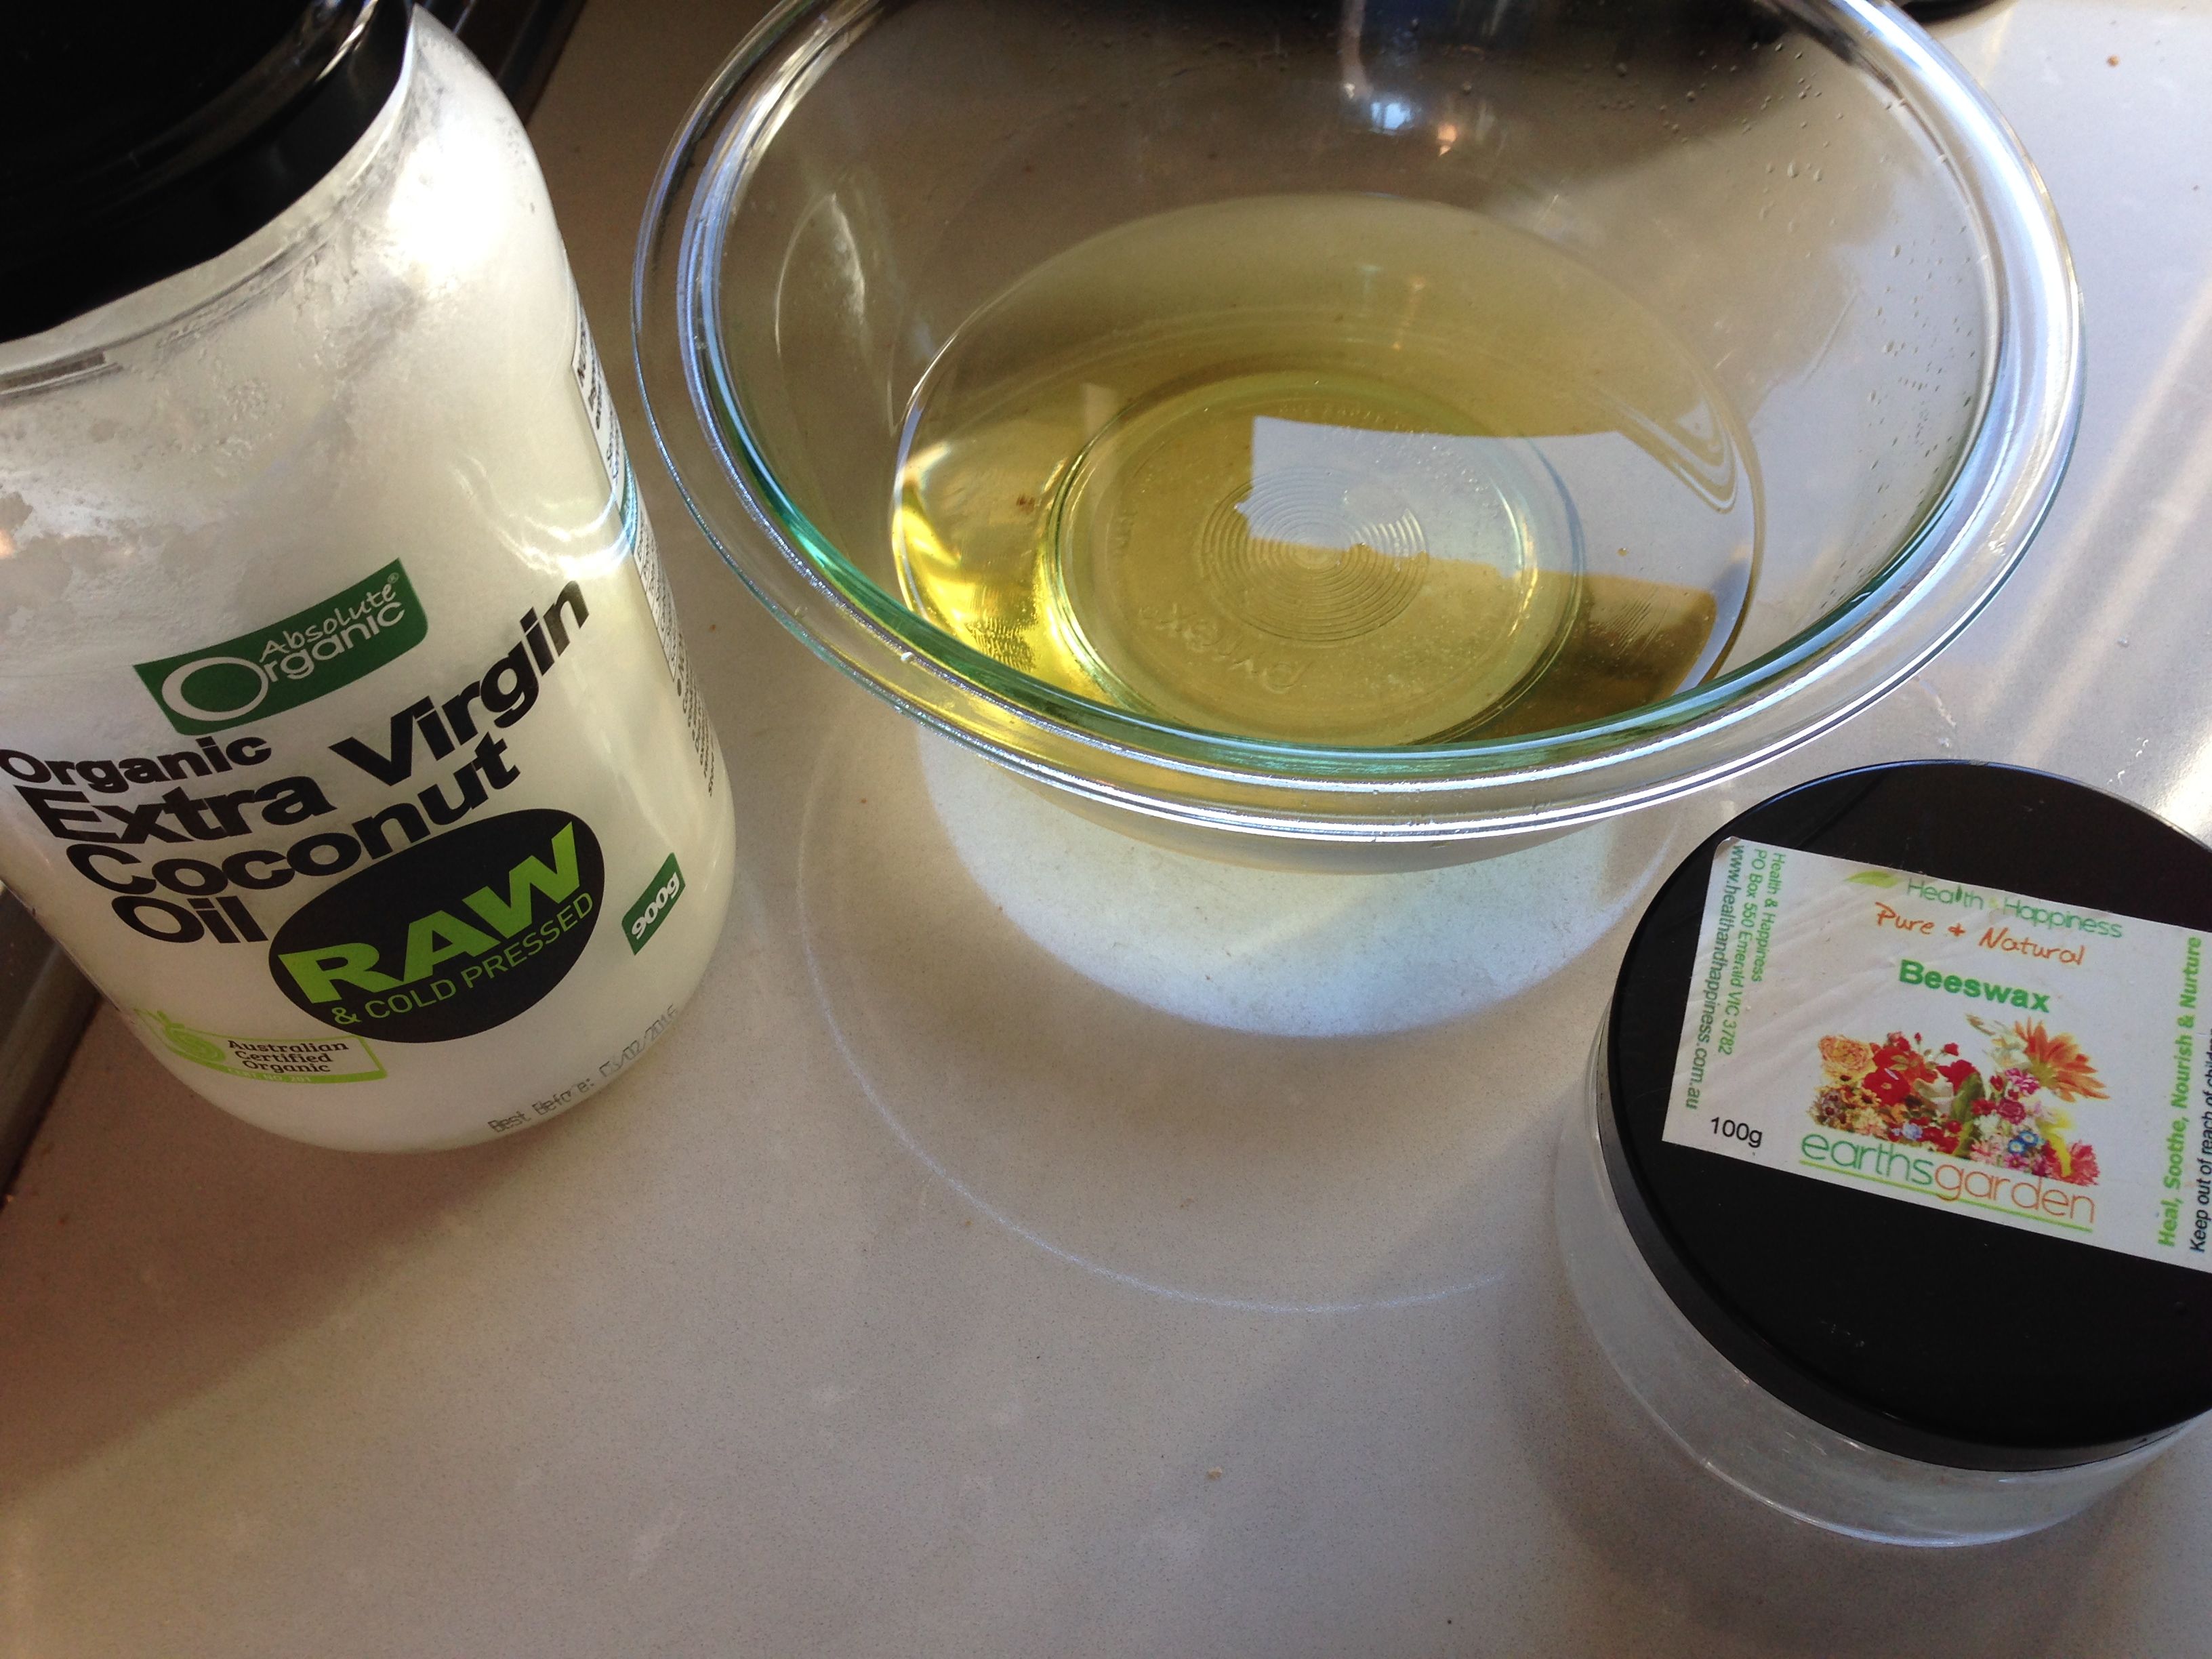
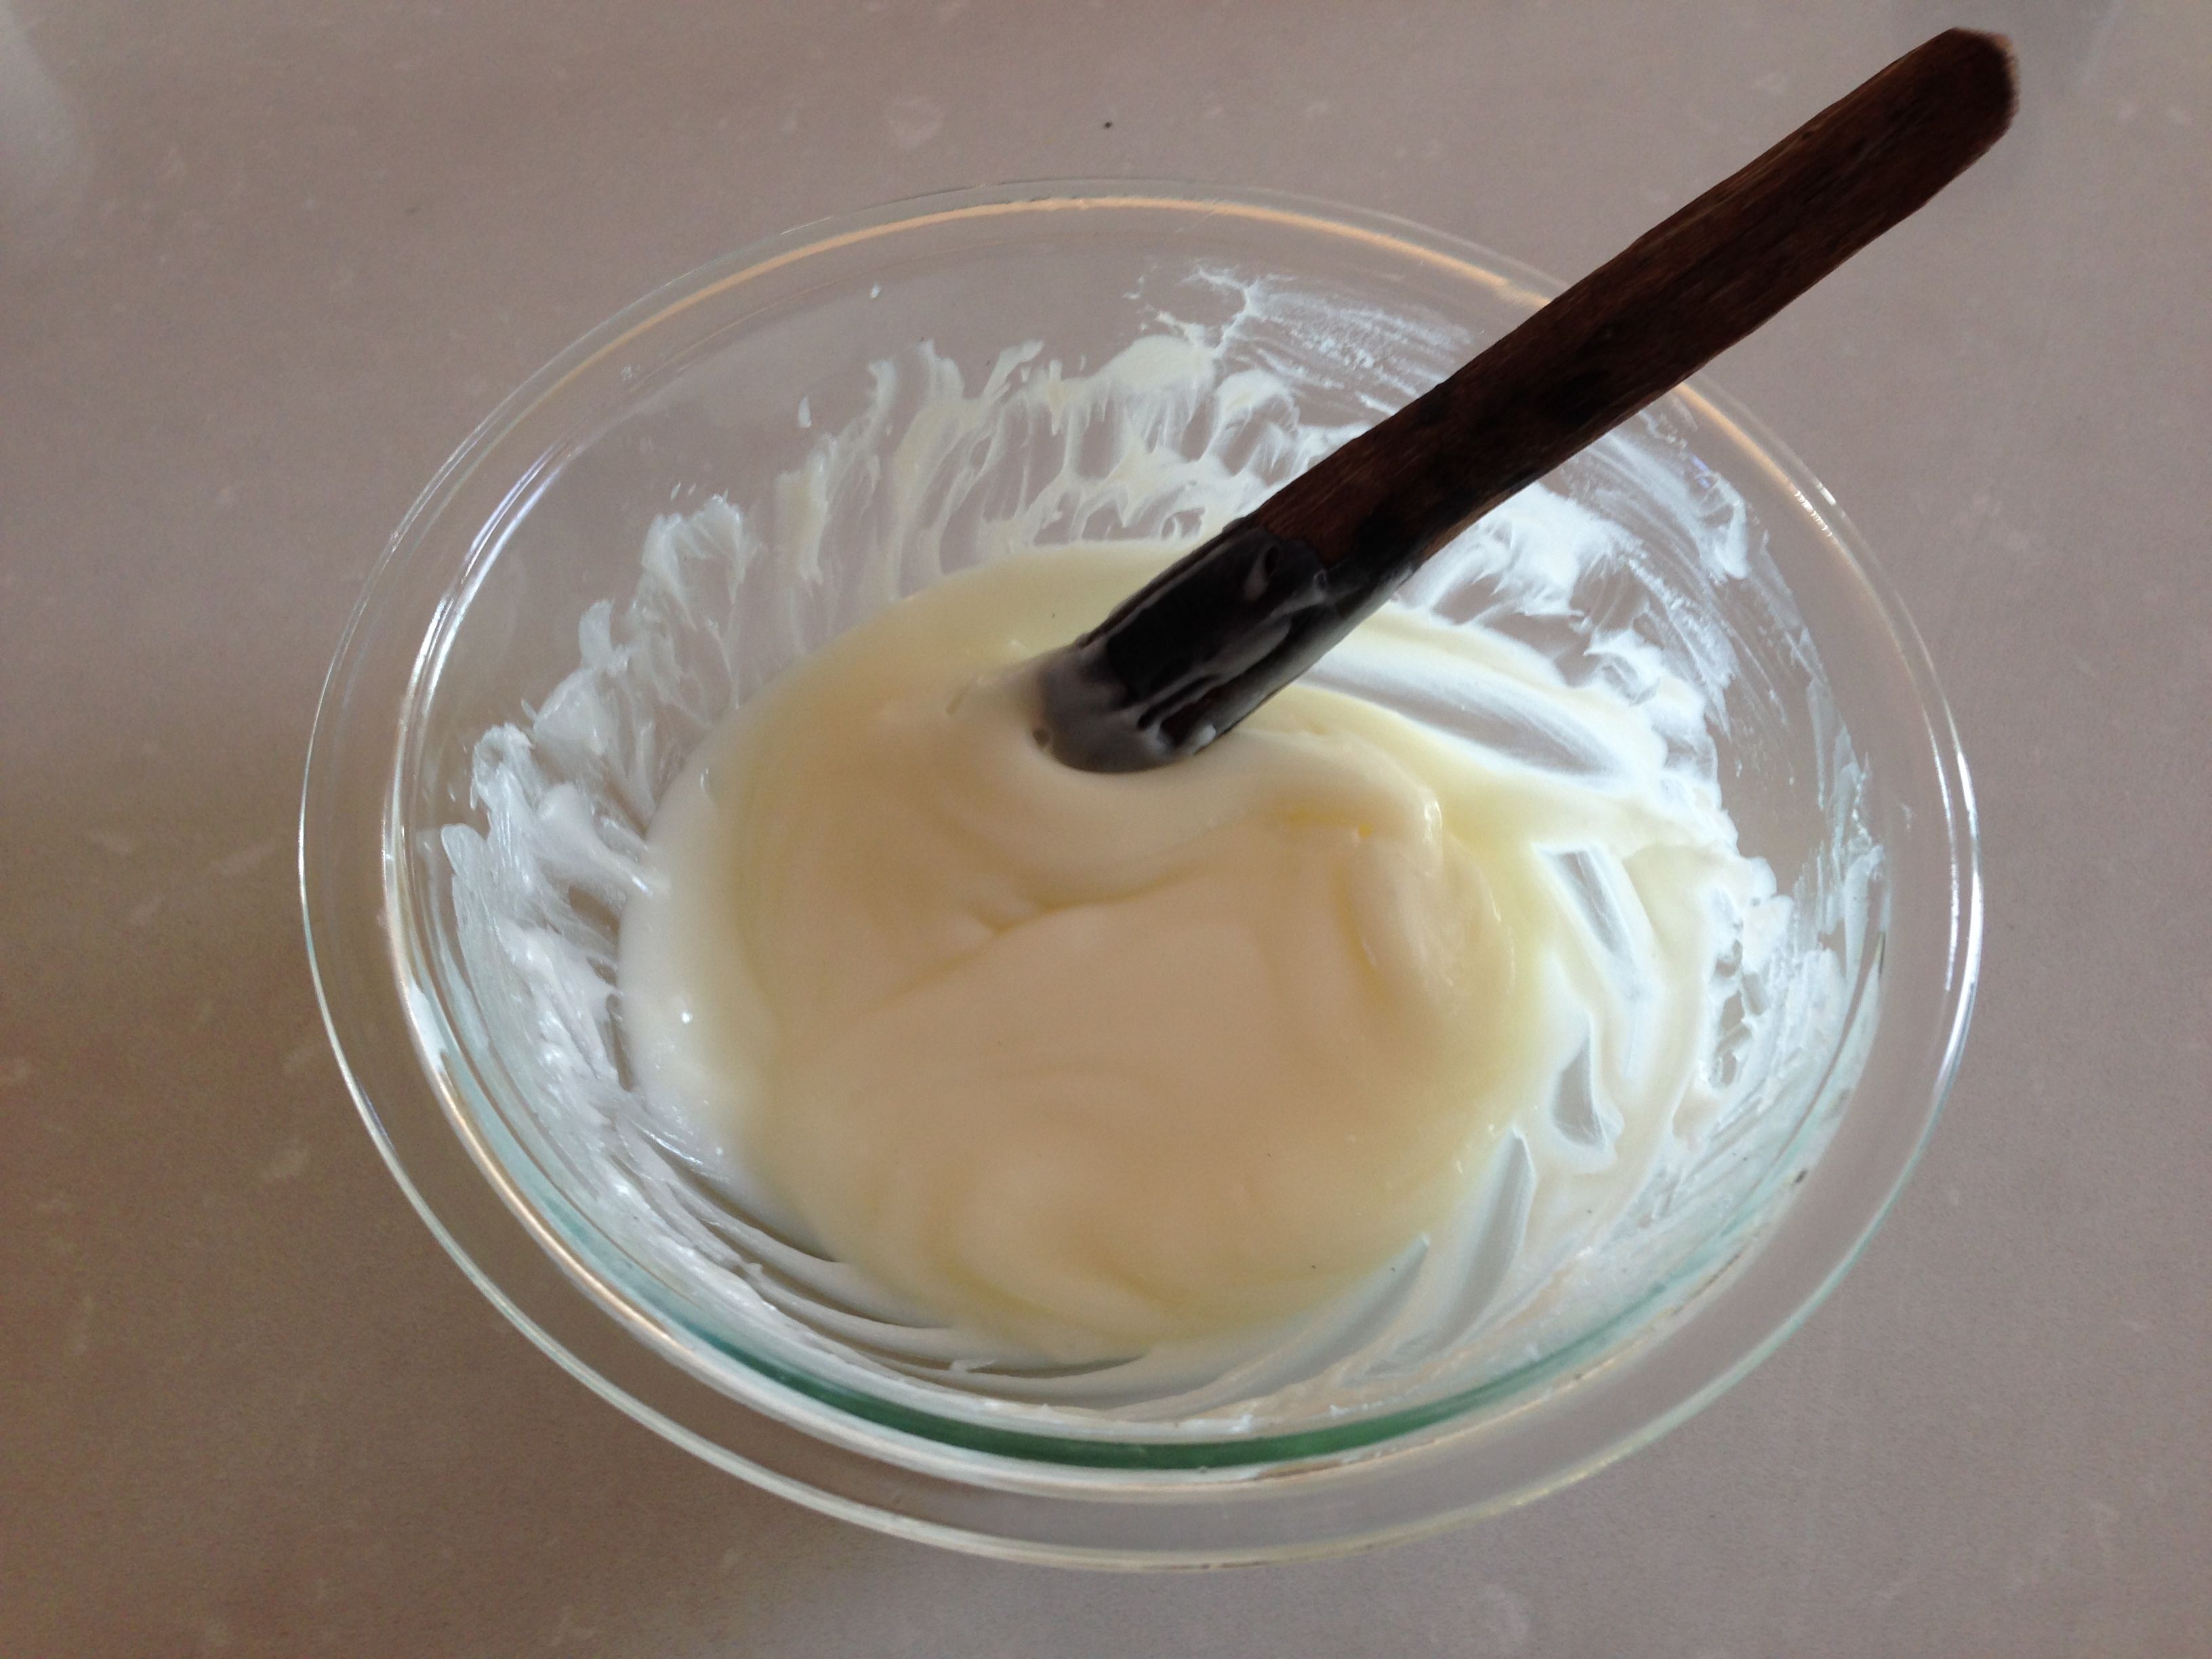
We waited until the mixture cooled and solidified again, and then the boys got busy coating each piece in several layers of beeswax goodness. Hand crafted items finished in this way with good quality beeswax guarantee that your wooden creations will last for many years to come. Also, as a natural substance that warms to the touch, beeswax is a really lovely medium to work with and kids seem to really like using it.

 (Eye protection not necessary when using beeswax, I’ve just got a little man who likes to rock safety goggles and jammies in the middle of the day. That’s how we roll here.)
These blocks have been a truly wonderful addition to our playroom. Those old coloured blocks we still have lying around haven’t really been touched since we introduced these new guys into the mix, and no surprise there really when you can make things like this with our homemade ones:

I’d encourage anyone who is thinking about it to have a crack at making some of these for your own kids. Since I didn’t actually do a thing other than photograph and write about this project, all I can say is that it really didn’t seem like too much work, but has been very much worth it in my opinion – a very welcome addition to our playroom. Please do pop me a line in the comments below if you take this project on yourself.
Thanks for popping by and keeping up with our progress 🙂
xx
Robyn

Leave a reply to Kelly @ Happy Whimsical Hearts Cancel reply