
Happy New Year!
This post is the last in a 3-part series, presenting a few simple, quintessentially Waldorf crafts that anyone new to Steiner can undertake when first starting out, with little or no previous craft experience. These crafts are easy enough to make, take minimal time to finish and best of all, once completed, they will take your Nature Table from modest to magical. In part one, we made a felted ball mobile or garland, part two was the well-loved wooden gnome and now, in part three, we will have a look at felted fairies.
My first felted fairy was made on my first day at our local Steiner playgroup nearly a year ago now. I admit that I had no idea what I was doing other than trying to copy what the other mums were doing around me. The result was a fairy with hair growing from her neck somehow, wearing a gown that did nothing to improve her appearance. Nonetheless, one had to start somewhere and “Neck Hair Fairy” has lived since that day perched in a tree on our back deck. It’s all about the journey, folks! Since that time I have been wise to pursue a bit of instruction (Thank you YouTube!) and the results have improved significantly.
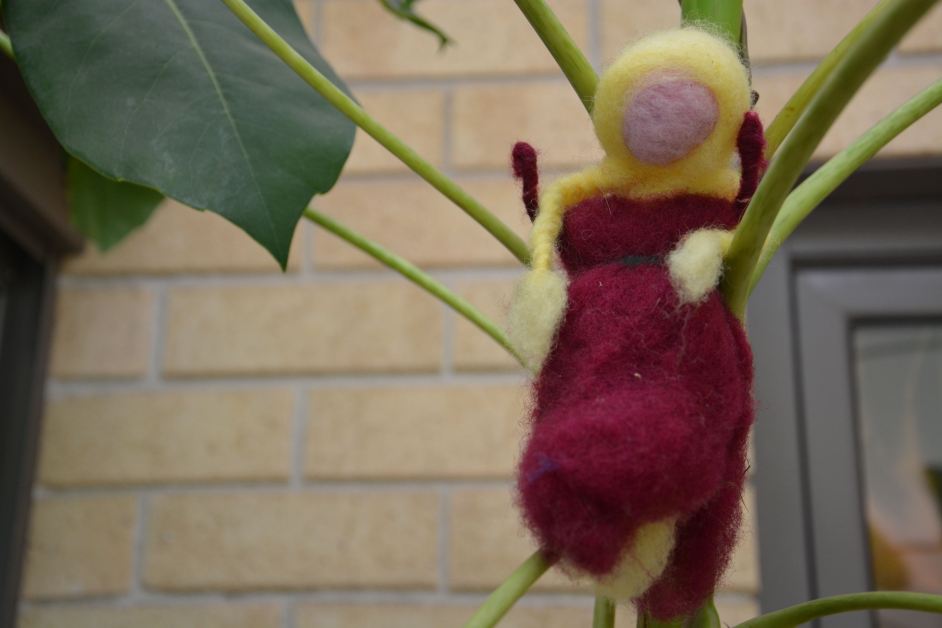
My second effort wasn’t all that much better:

In our home, we give life to the fairy world by telling stories of fairies in nature and around the home. In recent months we have welcomed the Dreamland Fairy into the folklore of our home life and along with it I came up with a little song that I now sing each night before bed to the children:
Dreamland Fairies, come to us
Dreamland Fairies, sing to us
Sprinkle, sprinkle, sprinkle
Dust, dust, dust
Dreamland Fairies take us to
A lovely little dream or two
Sprinkle, sprinkle, sprinkle
Dust, dust, dust
(The sprinkling and dusting is the fairy dust, to be clear. 🙂 )
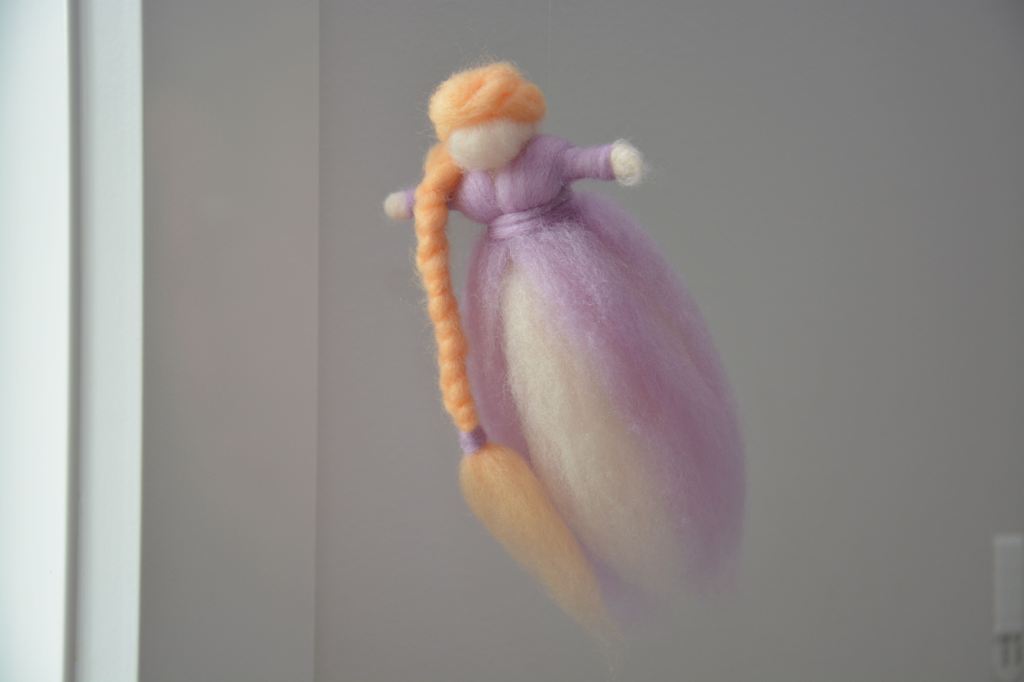
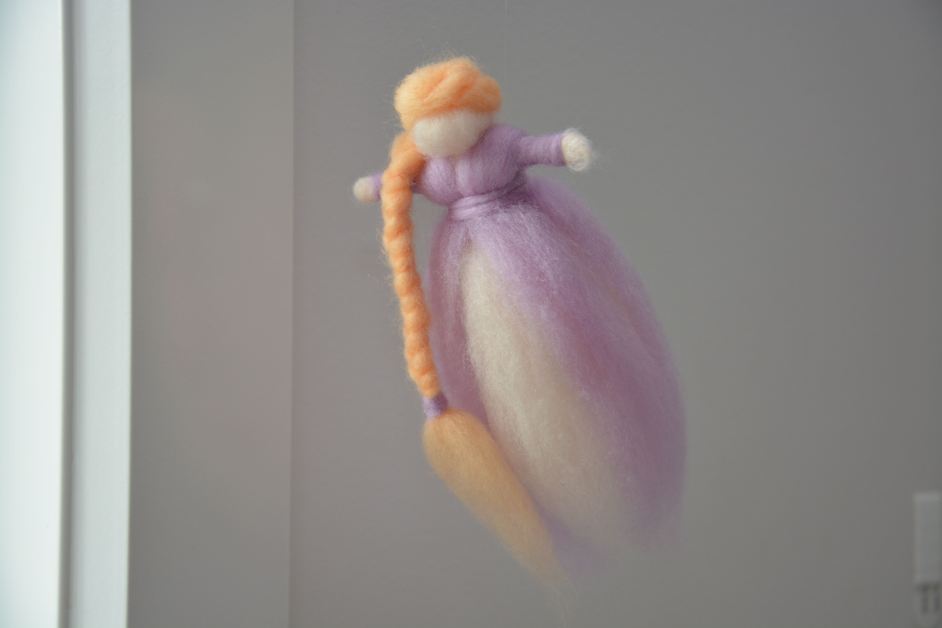
My newest fairy, pictured below, has been declared to be a Dreamland Fairy by Master C, and she now lives suspended by a transparent string above his bed, flying over him as he drifts off to Dreamland.
The tutorial I followed for making this fairy can be found here, and from start to finish the whole project took about an hour. Bear in mind that I am probably the slowest crafter ever to live, so it will probably take a normal person considerably less time. I bought my felt roving from Winterwood Steiner Inspired Toys, as well as all of the felting supplies required. And really, you don’t need much in the way of supplies at all.
Here’s everything you will need:
- Wool roving in a skin tone, hair colour, and gown colour plus any extra for accessories or add-ons like flowers etc.,
- One pipe cleaner;
- A felting needle or two (these vary in size depending on their purpose, from very fine for detail work to a thicker needle for more general use) and;
- A foam felting board.
You might also want to add some transparent thread to that list if you wish to suspend your fairy in some way from a branch, or the ceiling. They do look pretty enchanting when floating in space, as fairies are like to do.
Do you have a nature table scene you would like to share? Drop me a line and a pic or two and we can share the talents of this community. Email me at razzafazza@icloud.com.
For more nature table or felted fairies inspiration, check out my Pinterest boards which are overflowing with the amazing talent of others much more skilled than I from around the world. My Nature Table Pinterest board is here and the Fairy board is here.
Thanks so much for stopping by! I hope that the New Year Fairy has blessed you and yours with a wonderful year so far, and all throughout 2015. 😉
With love,
Robyn
xx

Leave a comment