

I’ve heard it said before that a baby will sleep through anything if they are used to being in a noisy house, but apparently my kids never got that memo. Baby J isn’t the best sleeper in the world and, like many women before me, I will go to almost comical lengths to ensure his sleep isn’t disturbed once he has finally taken the journey off to the land of nod. Having a 3 year old in the house during baby’s naptime can make that task super hard! I know kids of that age are not built to be quiet and so I have had to be crafty during naptime to keep Master C occupied with activities that are focussed and low-key. Here are a few favourites that Master C has loved, and which have bought me some precious quiet time to myself too. A cup of chai in silence? Don’t mind if I do.
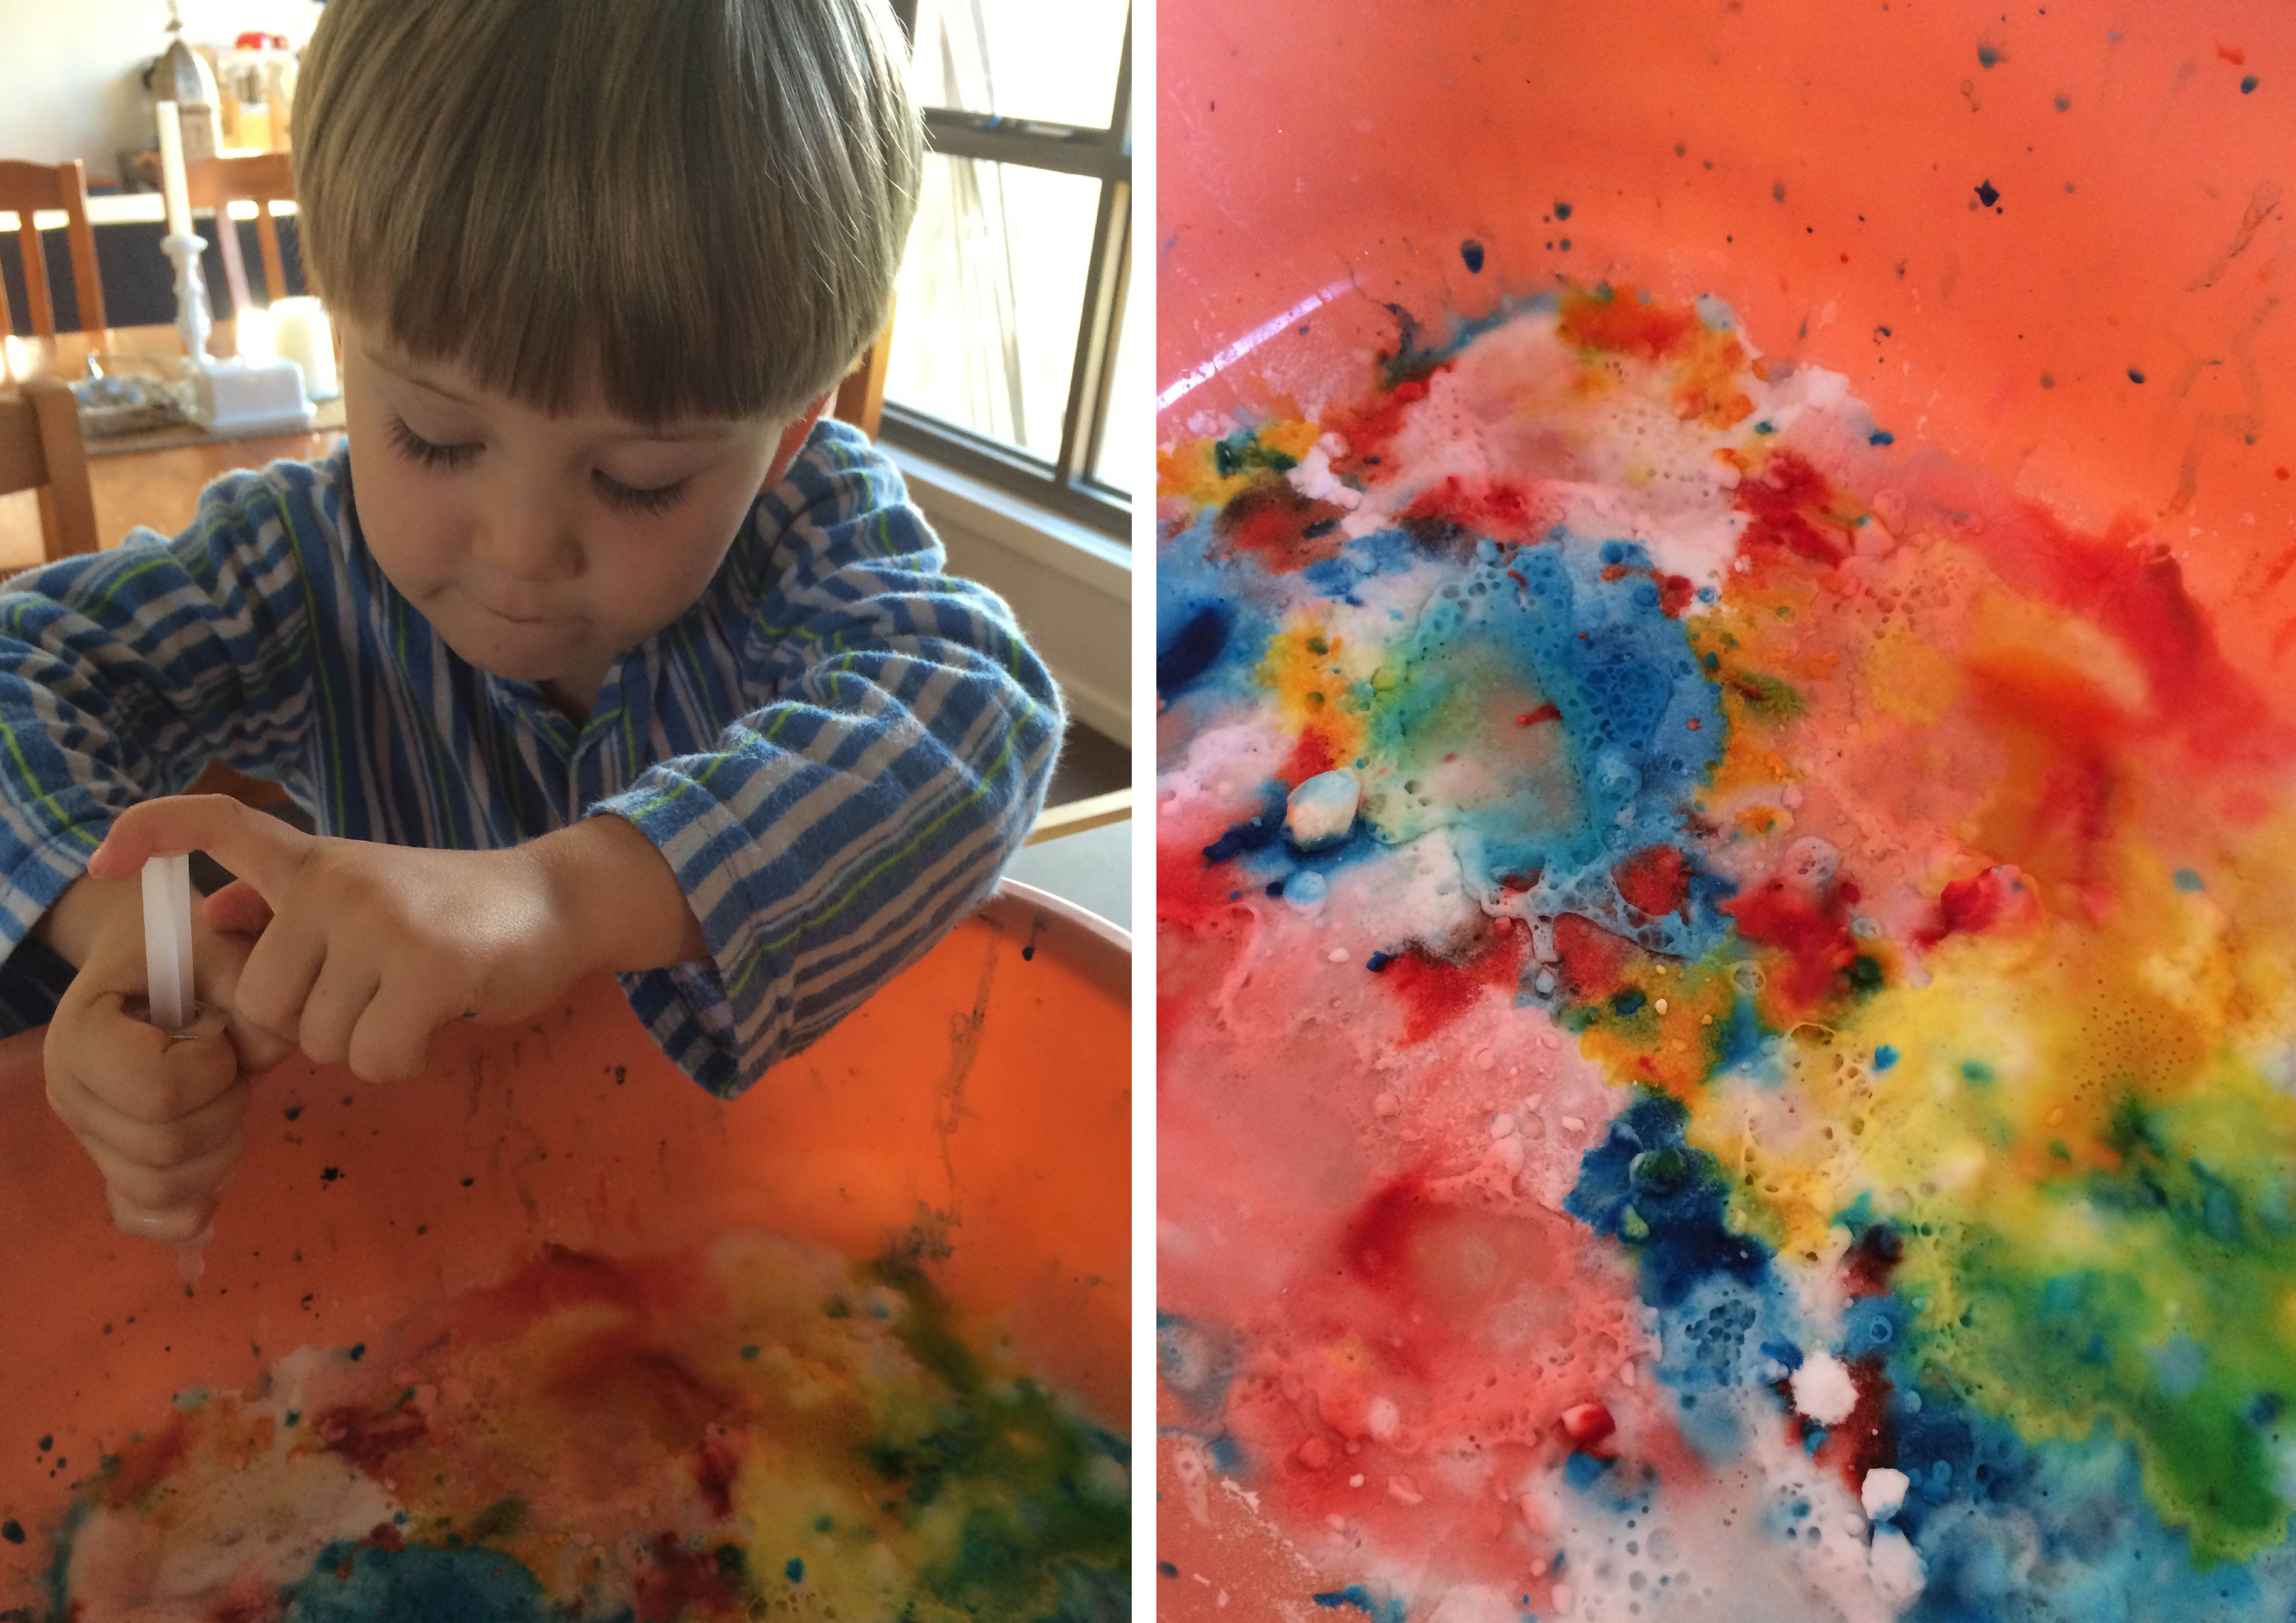
Bubbling Colours
An oldie but a goodie. Master C asks to play this one repeatedly. I usually set him up on the deck and let him go for it. Fair warning through, if your child tips the whole cup of vinegar into the tub, the fun will be over quickly.
Here’s what you need:
- Food colouring in several colours (I used red, yellow, blue and green)
- Bicarb soda (AKA Baking Soda for you folks back home)
- White vinegar
- Small plastic cup or container
- Syringe or eyedropper
- Plastic tub or large tupperware container
Here’s how you do it:
- Randomly squirt drops of food colouring into the base of the plastic tub.
- Cover with bi-carb until you cannot see any colour coming through.
- Fill small plastic cup with maybe 1/2 cup of white vinegar.
- Show your child how to load up the syringe or eyedropper with white vinegar and “shoot” it into the large plastic tub, on the bi-carb, to reveal bubbling colours underneath.
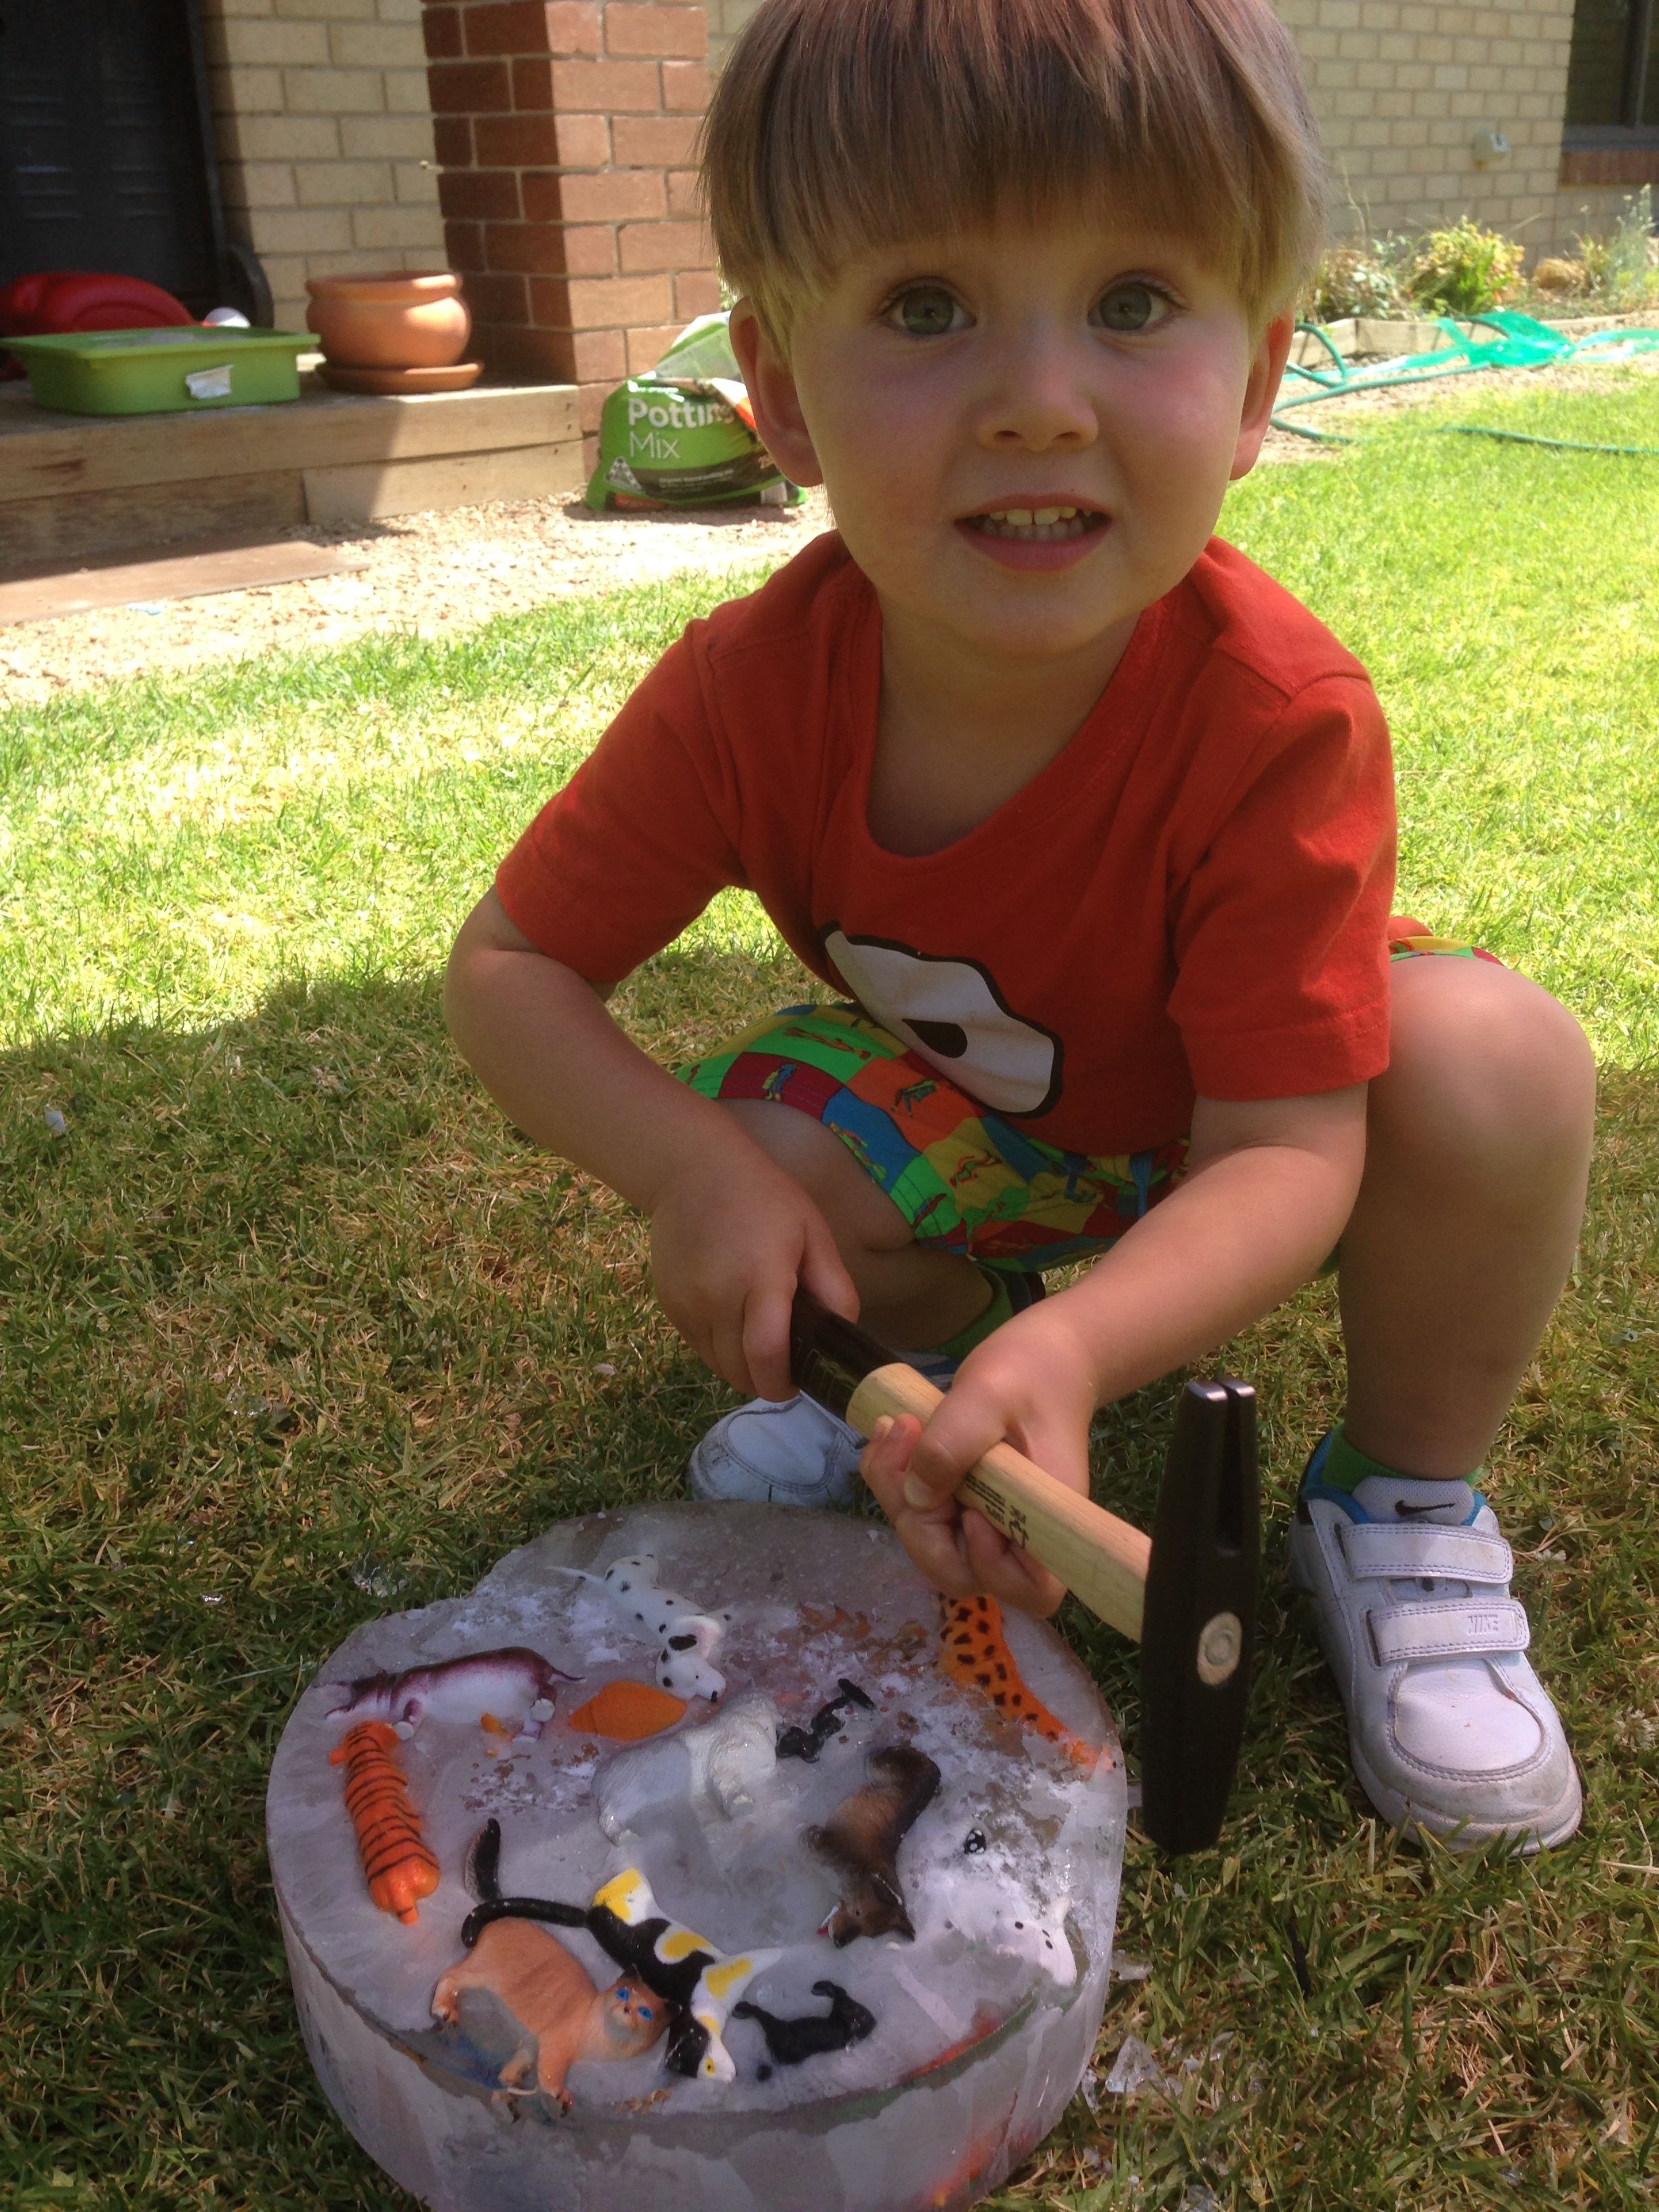
Ice Age Animal Rescue
Yes, its winter here in Australia. But its still mild enough in Melbourne that we can play this one on sunny days without worry. And for those of you reading along in North America, its the perfect time of year for this kind of activity. It takes a bit of forethought to throw together the night before, but that’s pretty much all the effort required from the grown ups. This one is genius for keeping a little man (or lady!) busy in the backyard for aaaaaaagggggeeeeessss. I recommend encouraging your child to wear sunglasses though, just incase a bit of stray ice goes amiss.
I did take the inspiration for this activity off of a link somewhere, but it beats me where. If you know the original source of this fantastic idea, please post it in the comments below! Thanks!
Here’s what you need:
- Assortment of plastic animals (often found at the dollar store)
- Large plastic container
- Small tack hammer or similar (we got ours at Bunnings for less than $10)
- Sunglasses for eye protection
- Optional: blue food colouring
Here’s how you do it:
- Place plastic animals into your large container.
- Cover with water.
- Feeling extra inspired? Put in a drop or two of blue food colouring for extra iceberg “oomf”.
- Freeze overnight.
- When ready to unveal this offering to your child, simply run hot water along the base of the container to loosen the ice.
- Place outside (on the grass is probably best) and give your child the tack hammer, with some ceremony of how responsible they must be with this “big boy/girl” tool that you have entrusted them with.
- Let your youngster get to the very important task of rescuing the animals trapped inside!
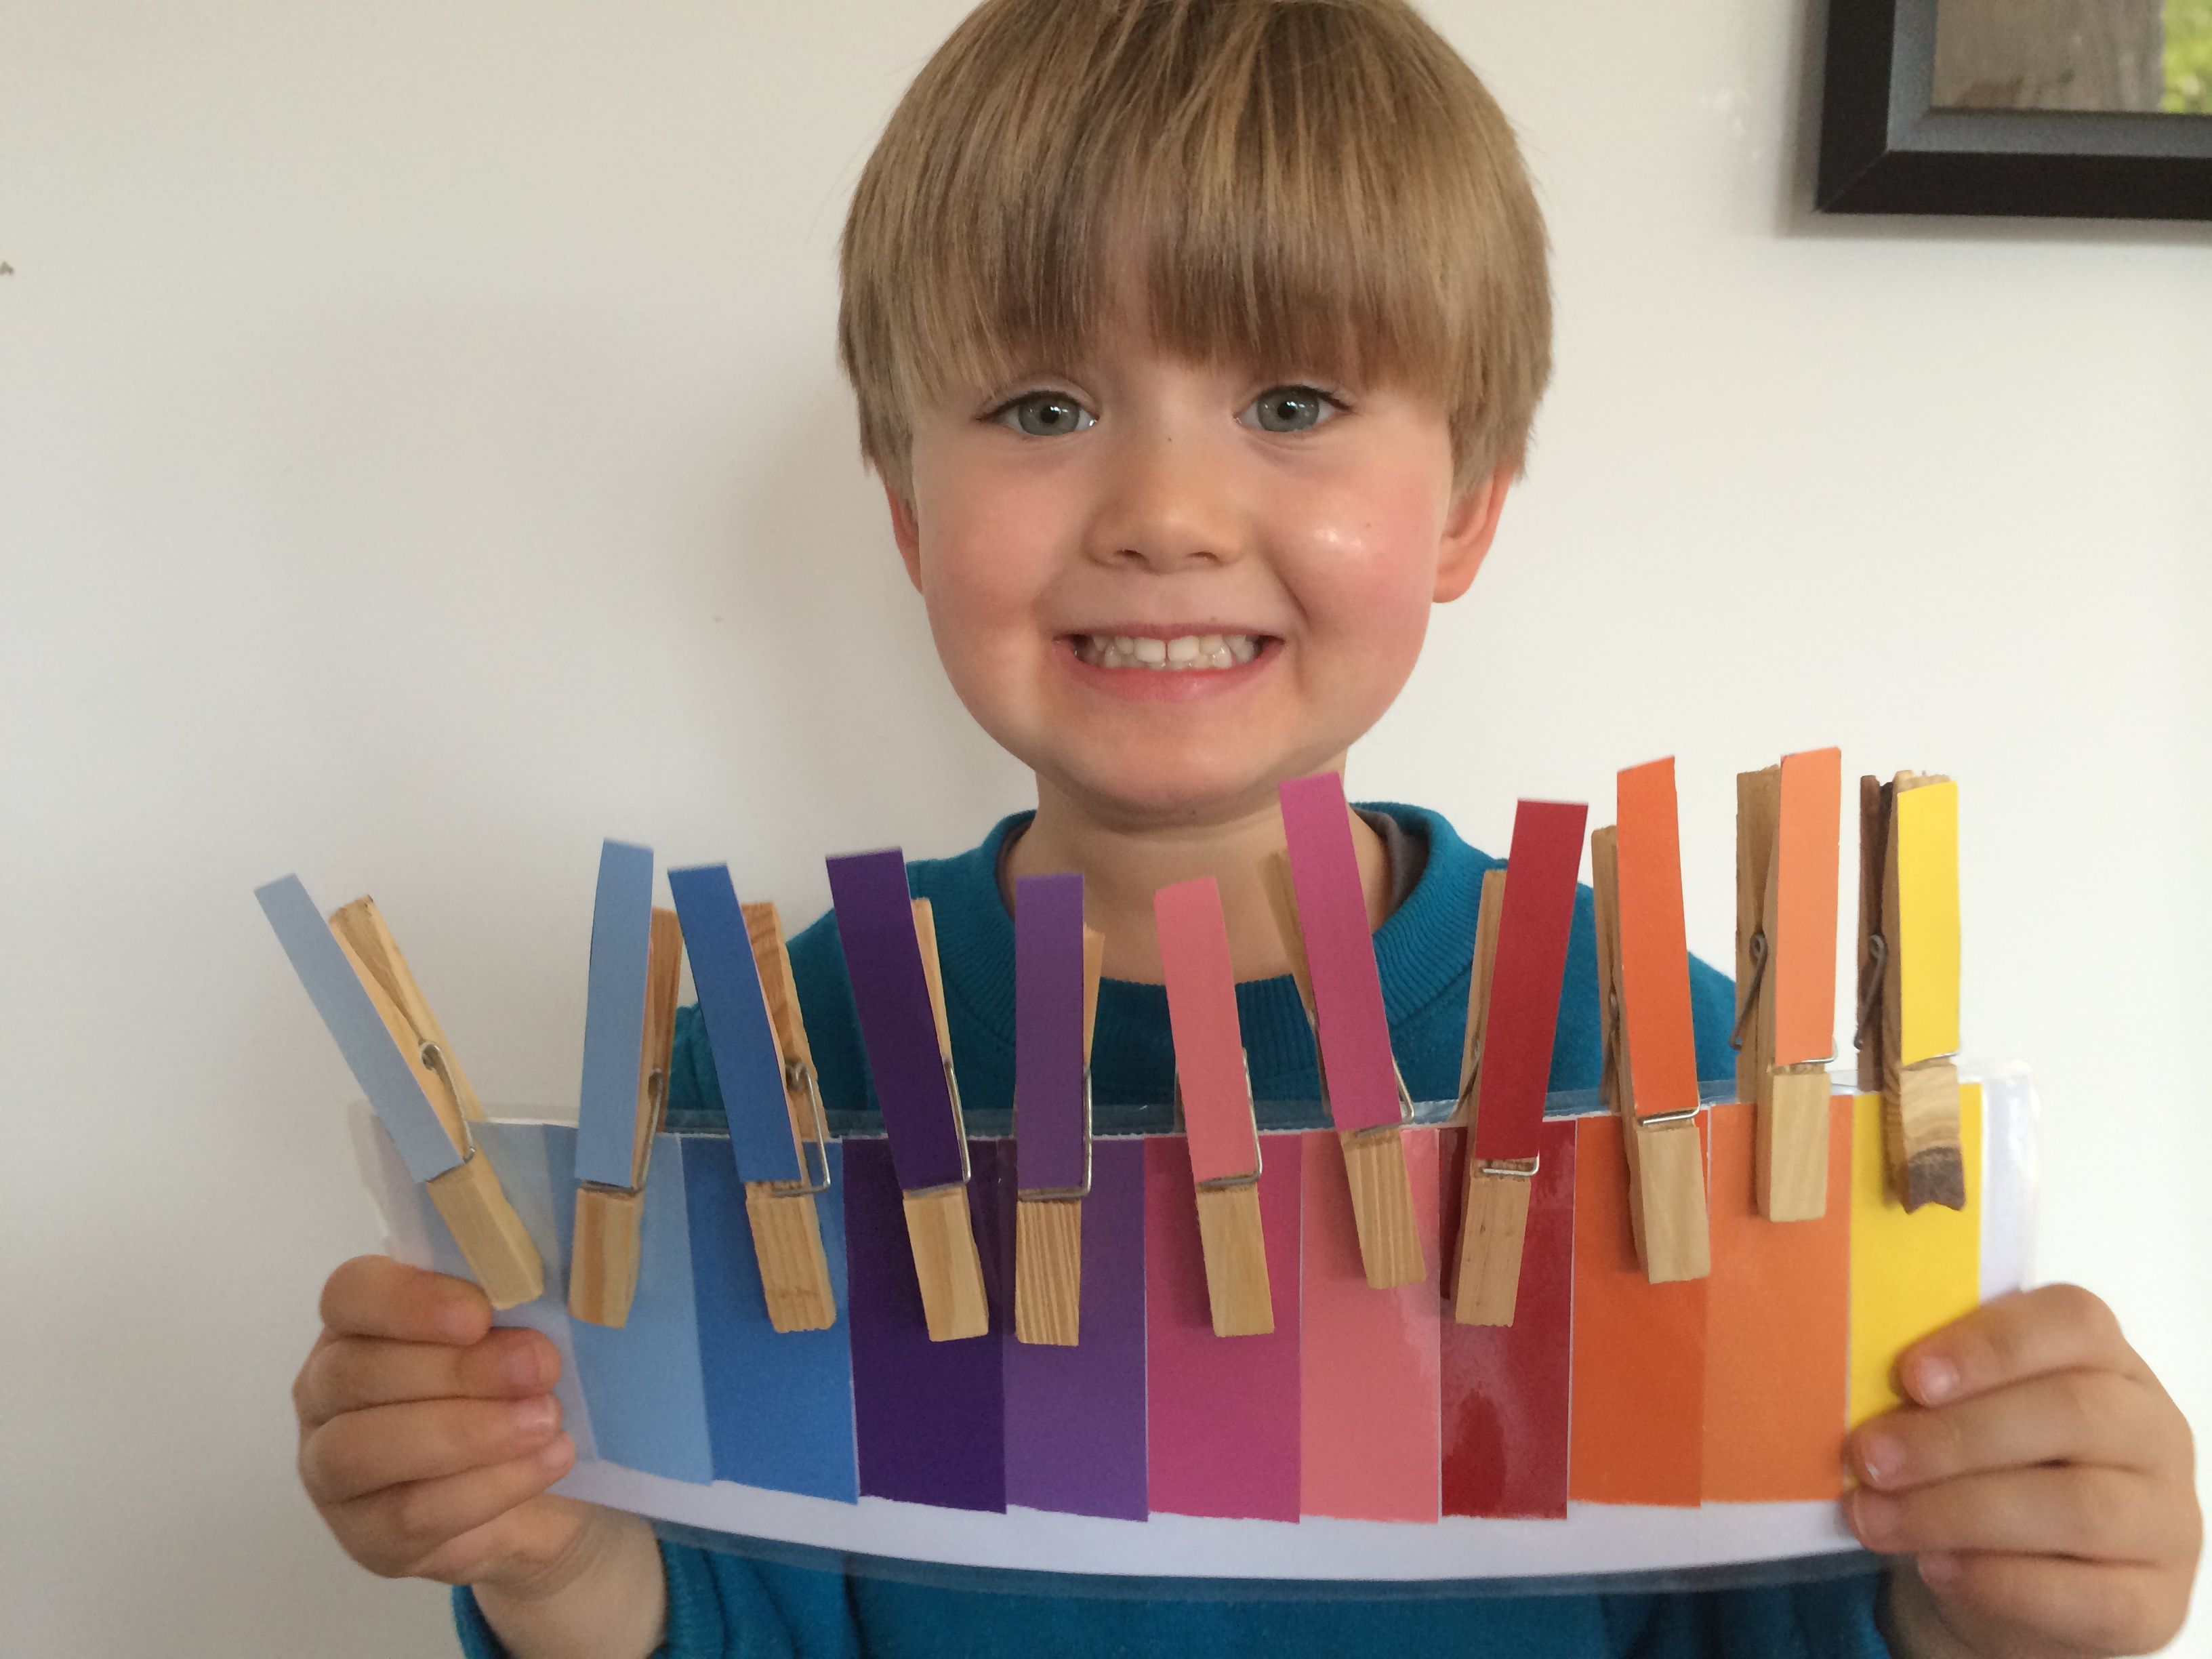
Paint Sample Match-up
While you’re at your local hardware store buying your tack hammer for the Ice Age Animal Rescue above, why not pop over to the paint aisle and grab an array of paint samples in gradient colours? You’re already halfway there with this quick-to-throw-together activity inspired by this post at Racheous.com.
Here’s what you need:
- 12+ paint samples in gradient shades of same colours, to increase the challenge
- 12+ wooden clothes pegs
- wood glue
- glue stick
- scissors
- sheet of card or paper
- Optional: laminator
- Optional: laminating sheets
Here’s how you do it:
- Trace the outline of the clothes peg onto each colour of paint sample that you intend to use (only trace the top half or else you won’t be able to open the pegs once glued)
- Cut out and glue to the clothes peg as pictured.
- Cut out a larger piece of each sample and, using glue stick, adhere to the card or paper alongside similar colours of each gradient family.
- Optional: laminate
- Present to your child and ask your child to clip each clothes peg onto the colour that matches.
Soooooo…is the baby still asleep? Great! Time for a second cup of tea then :).
Enjoy your week!
xx
Robyn

Leave a comment