
Alright, I admit, we aren’t really all that strict in our adherence to one educational philosophy. By and large, the majority of what we do is in keeping with the Steiner method of education, however I am also a big fan of some of the methods of learning that fall more under the Reggio or Montessori camp. Our weekly Sensory Bin is a perfect example of this not-very-Waldorf style of engaging with the world, so in this way we are on a bit of a hybrid Waldorf journey. But that is the stuff of another post, for another time.
Earlier this year, Big Daddy outdid himself once again when he repurposed our old dining room table into a Sand and Water Table. Hooray! Our Sand & Water Table has been an indispensable item in our backyard play. It lives on the deck so it is out of the elements and can be accessed rain or shine. The container on the left is nearly always full of sand and various sand play accoutrements. But the container on the right? It changes every week. Sensory Bin, Small World or just fun with water, this little beauty has been the best thing we have added to our home for the kids, hands down. Okay, maybe it ties with the trampoline. Anyhow, here are a few of the things we’ve done so far!
Rainbow Spaghetti Sensory Bin

Here’s what you need:
- Several packs of uncooked spaghetti (Quantity depends on the size of your tub; I used 4 packs)
- Liquid food colouring in red, yellow, green and blue
- Vegetable oil
- 4 large ziplock bags
Here’s how you do it:
- Cook spaghetti according to packet instructions, drain and let cool
- Divide cooked spaghetti evenly among the four ziplock bags
- Place maybe a tablespoon of the oil in each of the ziplock bags
- Add several drops of liquid food colouring to one of the bags
- Seal bag and shake it, shake it, shake it like a polaroid picture baby!
- If necessary, add more food colouring, seal and shake again, otherwise:
- Repeat for remaining bags of pasta. Place dyed spaghetti into your sensory tub. Ta-da!
Word of warning: this one has a life expectancy of around 24 hours. You will need to dump the lot after that, or else it will start to smell funky and get really gross.
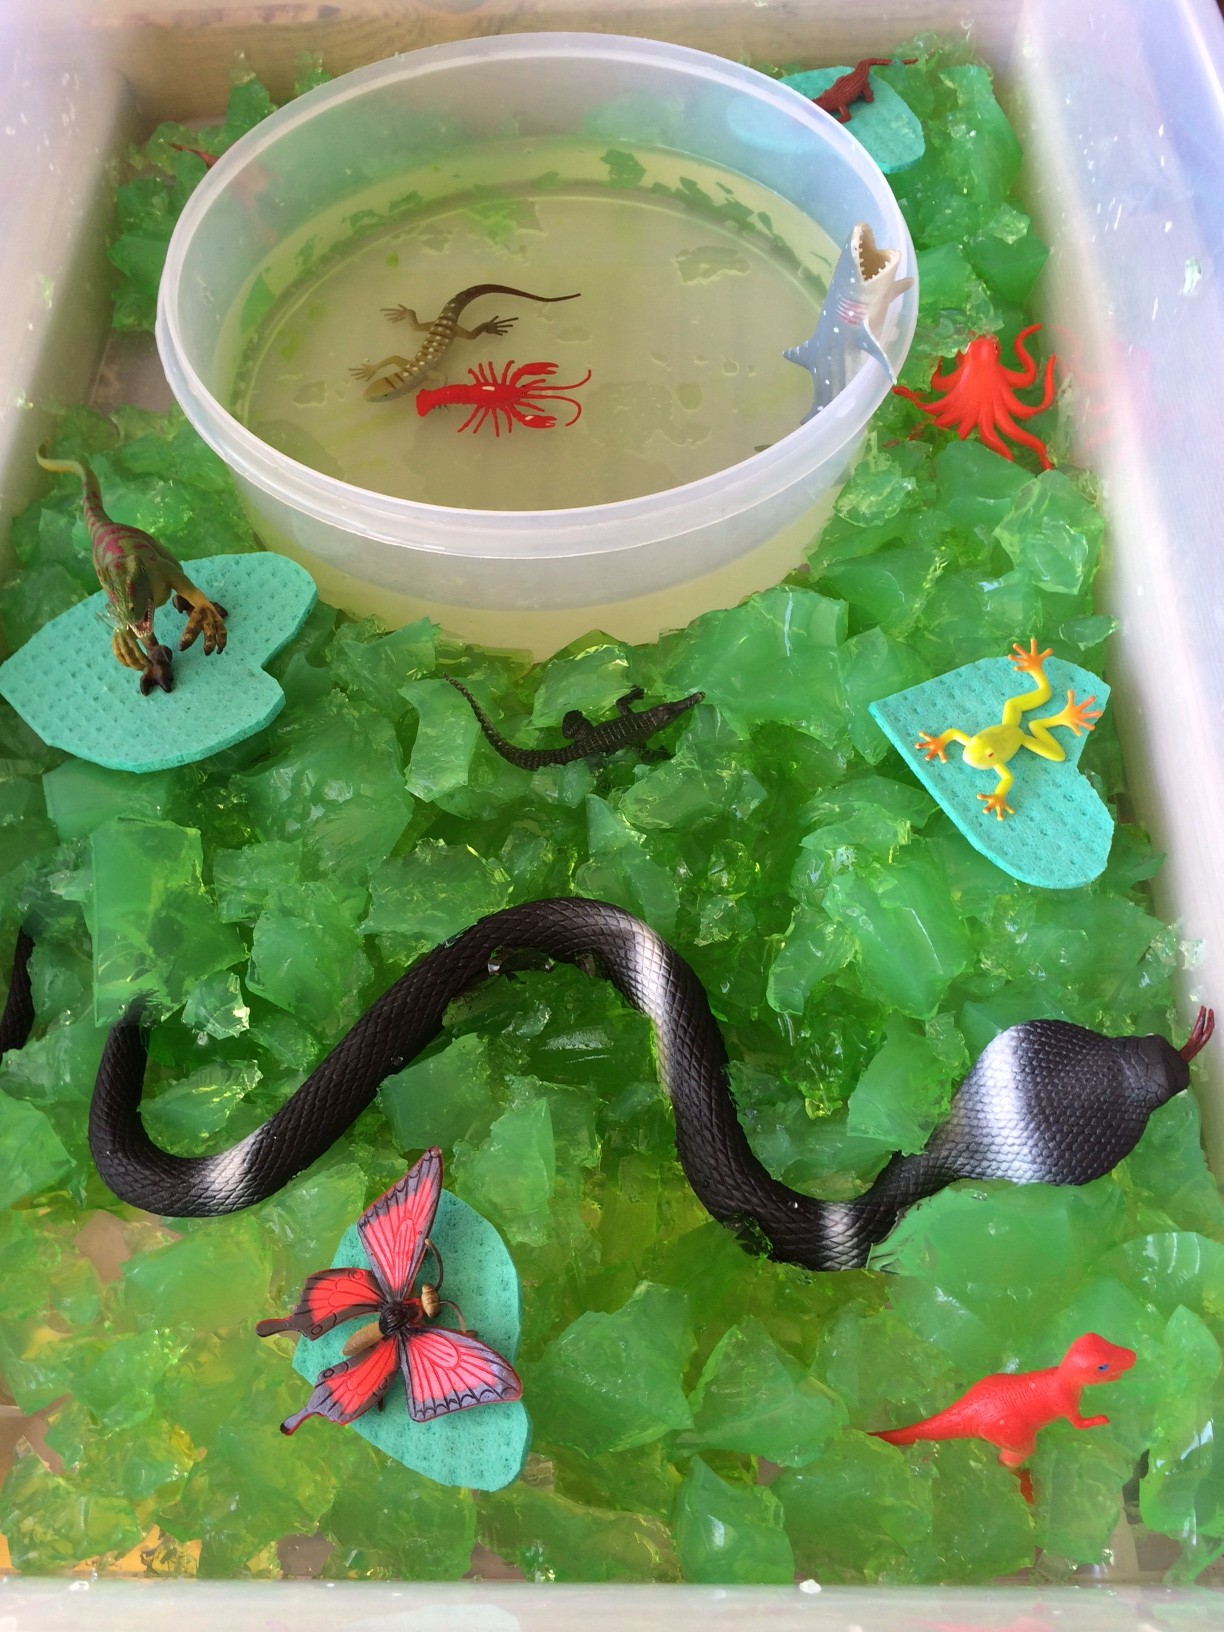
Swamp Sensory Bin
Here’s what you need:
- 1 x 125g packet of gelatine
- Green food colouring
- Green thin sponge
- Plastic swamp animals (I used a big ol’ snake from the $2 store, and any other plastic animals we had in our stash that could conceivably be found in a swamp: a lobster, lizard, frog, butterfly, shark, octopus and dinosaur – I admit the last three are a bit of a stretch but, whatever.)
Here’s how you do it:
- Prepare gelatine according to packet instructions
- Add food colouring once the water has been added to the gelatine, before you put it in the fridge to set. Stir.
- Let jelly set for several hours or overnight
- Using a big spoon or your hands, scoop out big chunks of jelly roughly and chuck it in your tub until full
- Cut lily pad shapes out of your green thin sponge and place on top of the jelly
- Arrange your plastic swamp creatures around the scene appropriately
My warning from the coloured spaghetti, above, is the same for this one: you will need to dispose of the jelly after no more than 24 hours. Otherwise it starts to grow mould. Not a good thing.
Water Beads & Buttons Sensory Bin

This one is so easy it’s ridiculous.
Here’s what you will need:
- A few packs of dehydrated water beads (I used four packs to fill my massive tub, bought online from Nic Nac with only $1 shipping!)
- Water
- An assortment of coloured buttons.
Here’s how you do it:
- Empty each satchel of dehydrated water beads into your tub and follow the packet instructions for adding water
- Throw in your buttons
- Leave overnight (they will grow up to 500% in size!)
- Return in the morning to the amazing sight of bouncy, slippery little marbles obscuring all those buttons you so craftily hid the night before
- Give your child a spoon and a cup and let them get to the task of finding all the buttons amongst the beads.
As an added bonus, when your little darling starts to lose interest, you can leave the water beads out in the sun for a few days and they will shrink back to their original size, ready to store away and be used another day!
Camping Small World
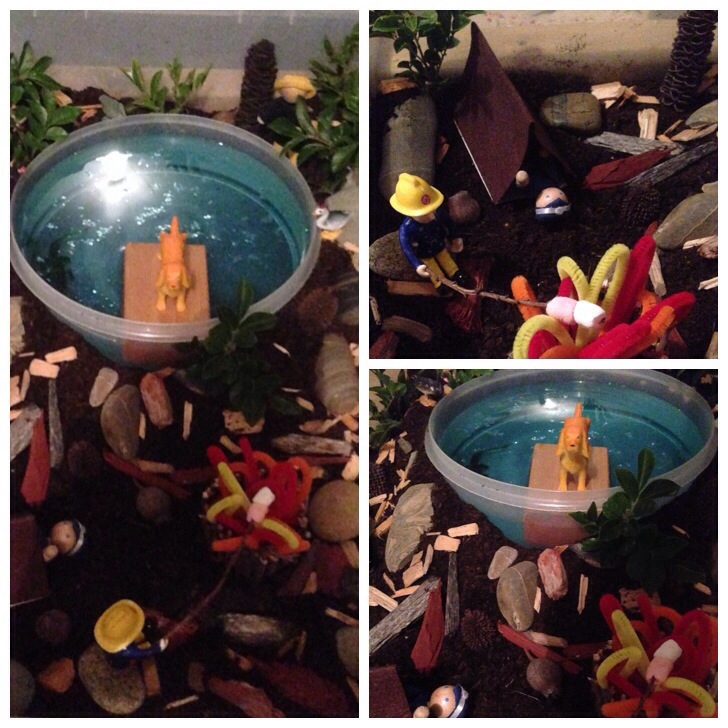 I’ll begin by apologising for the terrible pictures. Please visit the original post that served as inspiration for this small world over at Fantastic Fun and Learning, which gives a much (MUCH) better representation of how awesome this small world actually is.
If you’re looking to give something like this a go, here are a few tips:
- Use duct tape in a loop, sticky side out, to make the walls of your fire pit. Attach sticks and twigs to the tape.
- Use sparkles in the pond to give that wow factor
- Use popsicle sticks to form the frame of the tent, and felt for the walls
- Collect bits of shrubs, rocks, wood chips and other pieces of nature to give the scene a real life feel
- We attempted a popsicle stick raft initially but it sank. Perhaps you will have better engineering skills than I. A rock worked fine for us in its place.
Farm Small World

This small world was inspired by this post at The Imagination Tree. Our barn is a bit on the rustic side (Ahem. Big Daddy made it. ‘Nuf said.), but the kids didn’t notice or seem to mind: their imaginations picked up where our ghetto barn left off. Some tips if you’re going to make something similar:
- Use popcorn, steel cut oats, rice or dried lentils as feed or ground cover
- Grass clippings from the yard work great to give the base a “real” feel
- Pigs in dirt are essential, in my opinion 🙂
Well, my lovelies, that’s all I’ve got for you today! But just so you know, in addition to the Sensory Bins we have done as described here, we have also done several for various holidays including Easter, Valentine’s Day and St Patricks Day. I will blog about those when those dates come round once again next year.
Do you have a sensory bin for your littlies? Share the love and your ideas: inspiration is always welcome here! Comment below, and thanks for stopping by.
xx Robyn

Leave a comment